Weathering 101: aka - Making it up as you go along.
In
the real world not much stays pristine or new looking for very long.
water, dust, soot, and other things accumulate. The sun fades colors,
metals oxidize, stuff gets dented and scratched,
paint rubs off from hand or foot traffic. Most models, however, look
freshly outshopped. Bright and shiny as a new penny. A process called
'weathering' can take care of that.
There's tons of weathering techiques out there. Some have a pretty steep learning curve, others are rather expensive. I'll share 3 that I use that are neither, but may not very easily reversable if you goof or change your mind (unfortunately, there are always trade offs!)
There's tons of weathering techiques out there. Some have a pretty steep learning curve, others are rather expensive. I'll share 3 that I use that are neither, but may not very easily reversable if you goof or change your mind (unfortunately, there are always trade offs!)
Method #1: Rattlecan overspray:
This method is the easiest to learn, but the hardest to correct mistakes with. (a trade-off) It also won't produce award winning models, but it is very fast and very inexpensive (another trade-off). The basic premise to this process is that our brains tend to see what they expect to see. This gap in visual processing is what allows us to see a bunch of jumbled dots on a newspaper or television as a 'picture'.... and this process to make a 'weathered' model.
Step 1: apply any decals and paint in any major 'oopsies' - water scale and runnels puddles, rusty spots etc, with a fine brush. Paint them BRIGHTER and BOLDER than you actually want them. Subtle effects now will be lost later in the process
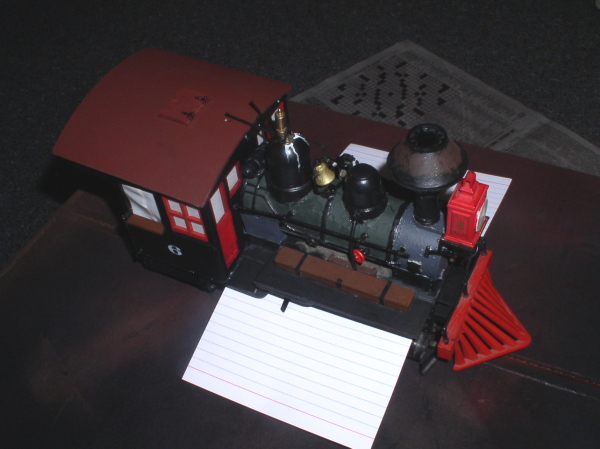
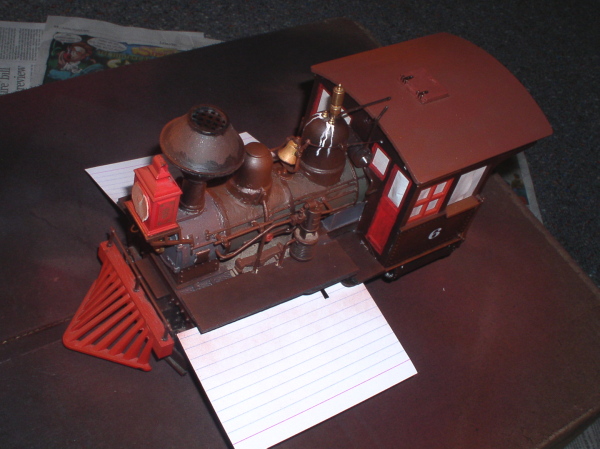
Step2: After you have done that, the next step is to mask off anything you DON'T want weathered, windows, headlight lenses, etc. Masking tape is called that for a reason. Index cards are helpful for large areas. Petroleum Jelly (Vaseline) or plastic compatible grease works for small or irregular ones (wheel treads, brightwork, etc)
Step 2:The next step is where things get irreversable, so you may want to practice on a junker first. You are going to simply overspray the entire model with 3 or 4 dustings of earthtone (primer) paints from a rattlecan. You'll need red oxide (brown), machinery (light) grey, and flat black, plus tan or beige if you're modeling the arid southwest.
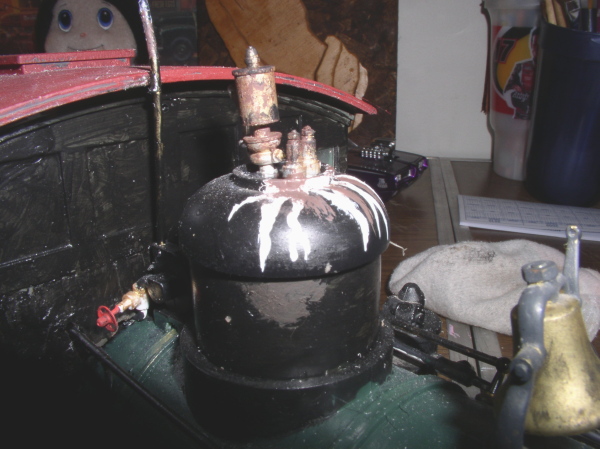
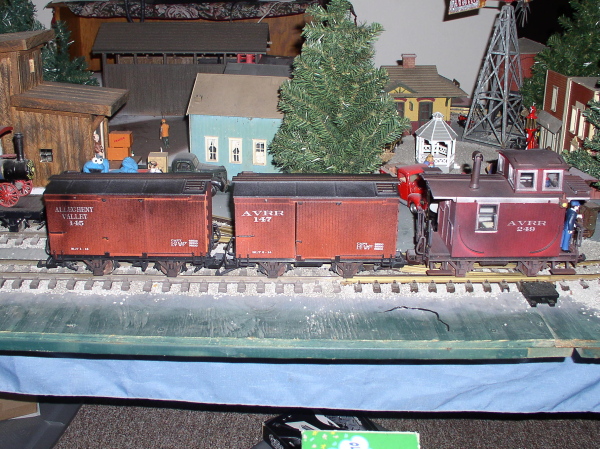
First on is the red oxide: Remember, you aren't painting, just dusting. stay back about 12"-18" and use short bursts while keeping the can moving briskly. Don't worry about even coverage, either, but try to think of what direction ash would be coming from (hint: heaviest near the funnel (smokestack) then drifting back)
After the brown comes grey, again fast short burts and more heavy closest to the funnel. As you can see, the 'too bright' brushwork has begun to mute considerably.

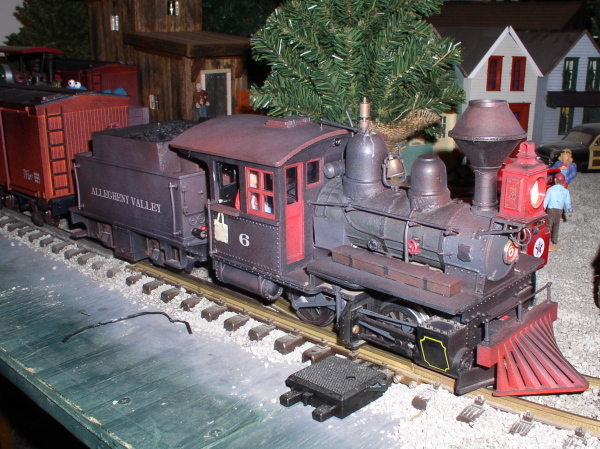
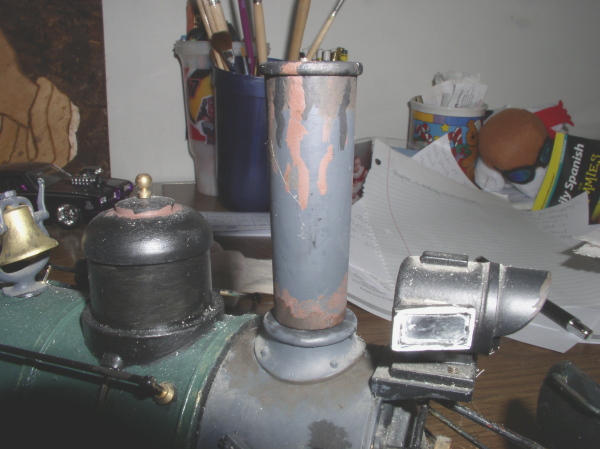
4th overspray, should you decide to use it, would be the beige - dust, which is mostly kicked up from underneath.
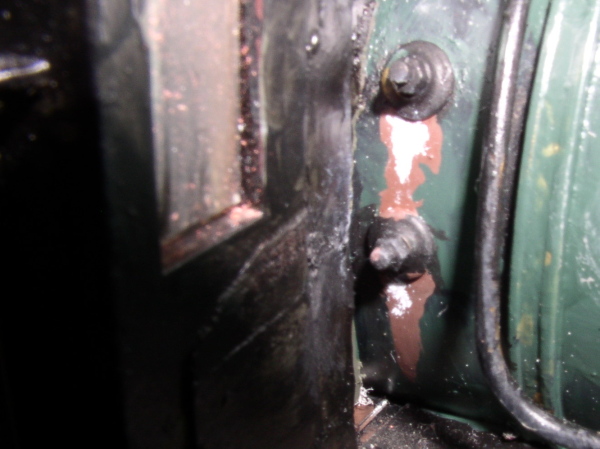
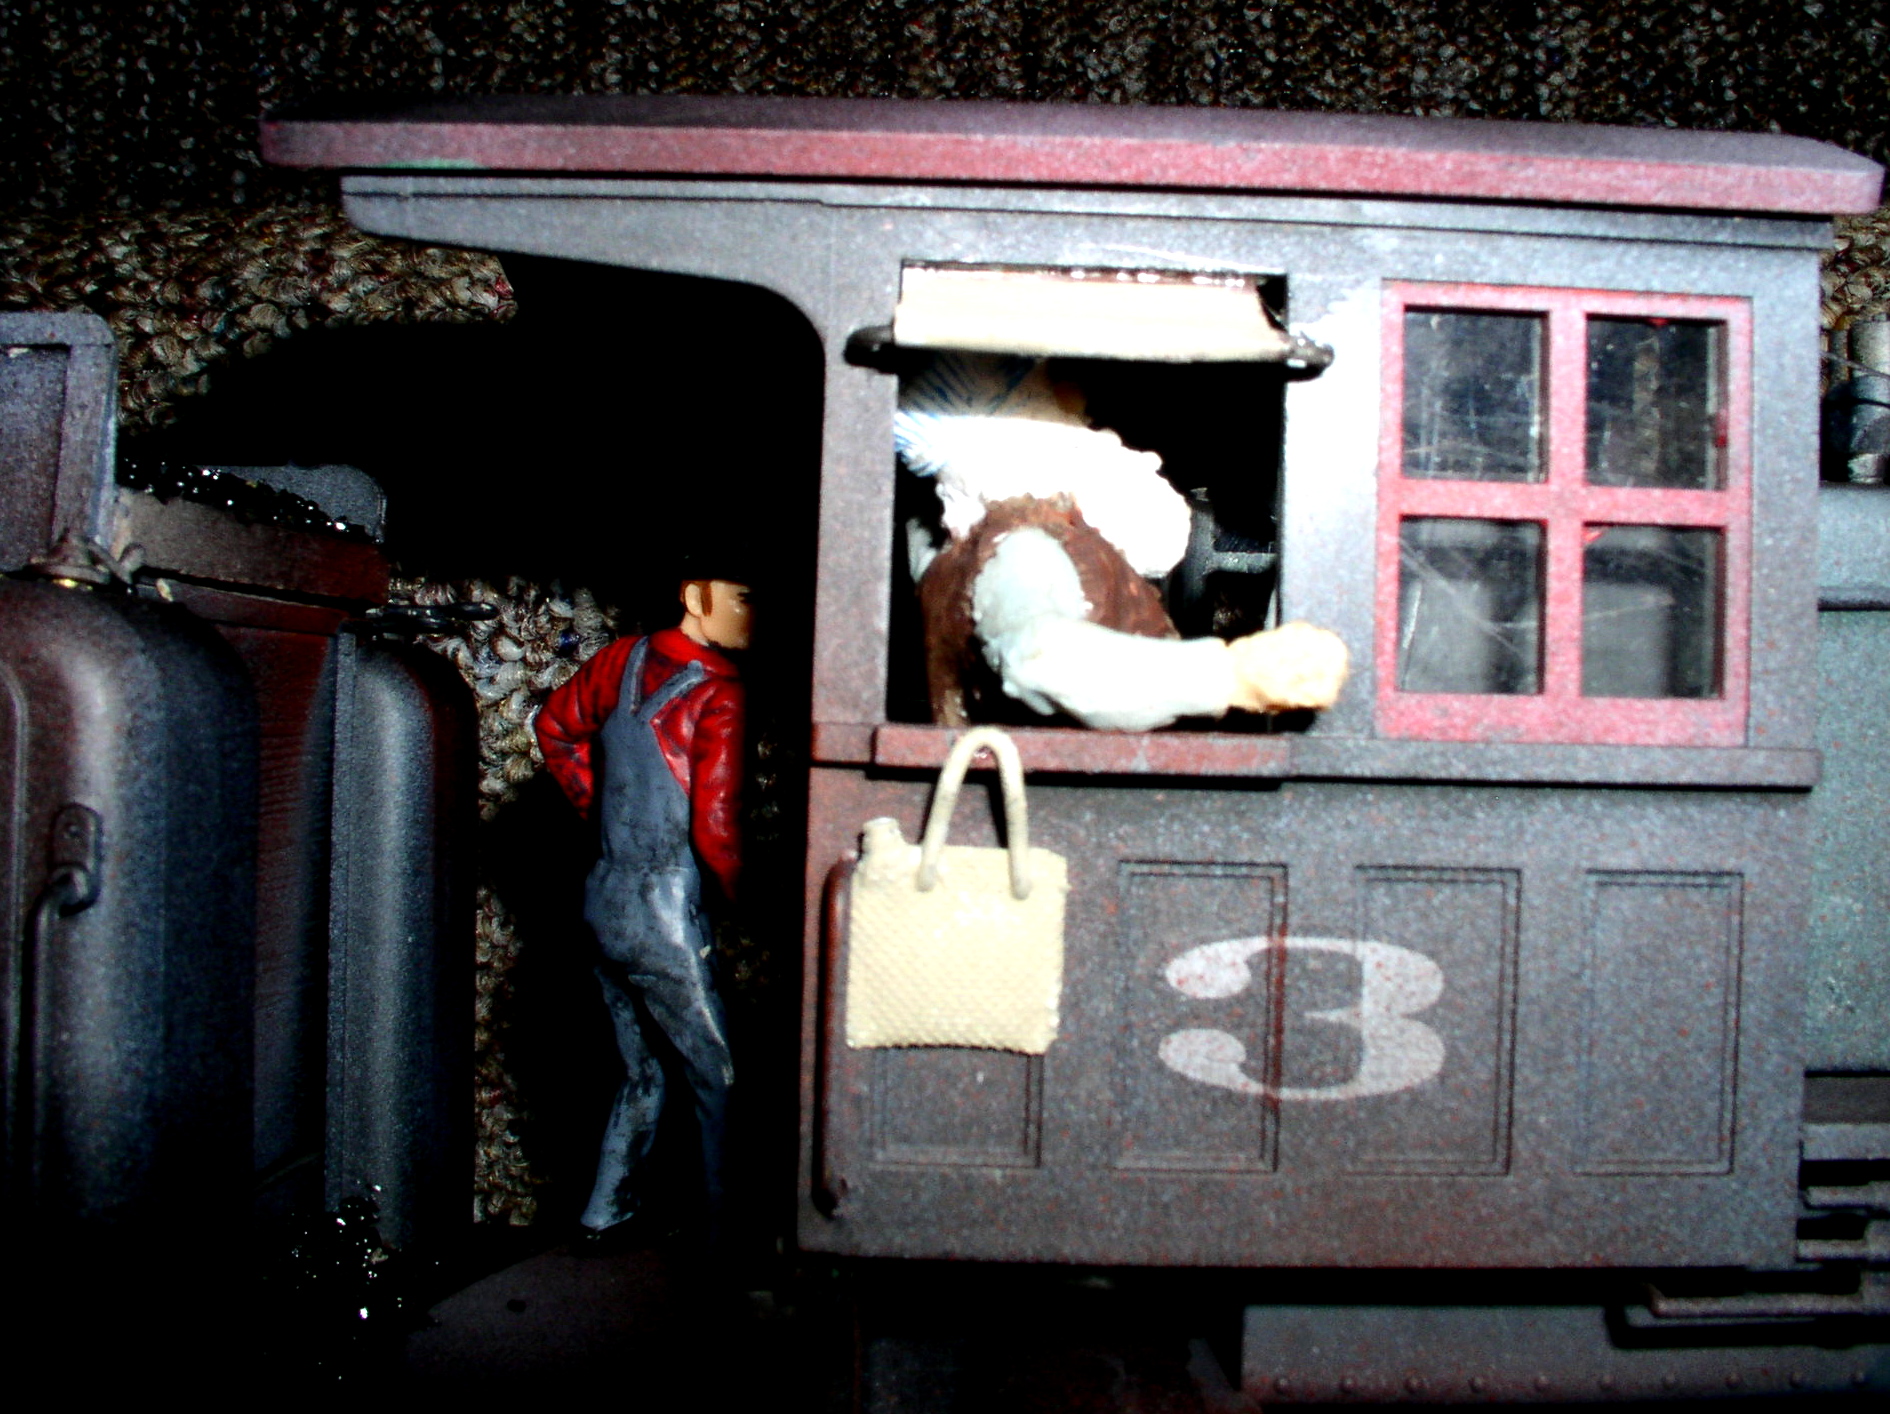
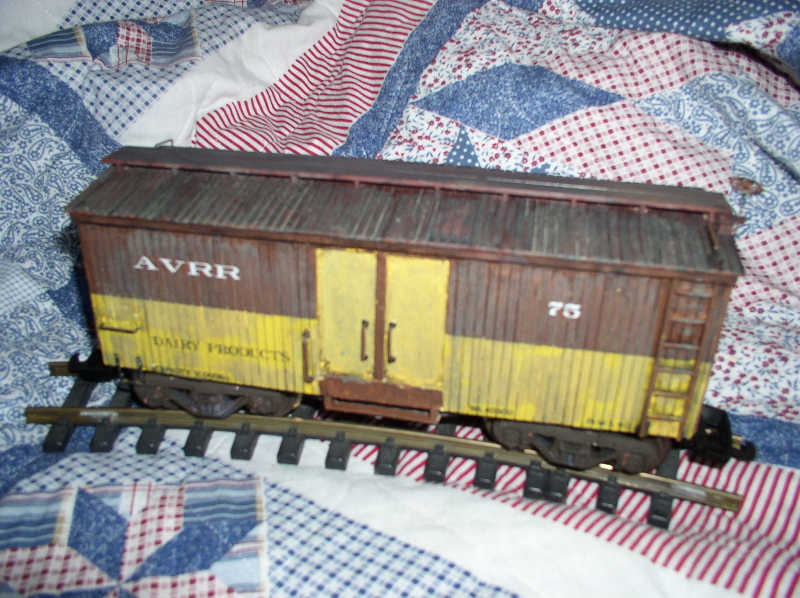
This close-up shows the actual mottled or speckled results, but, as mentioned, your brain processes it differently.
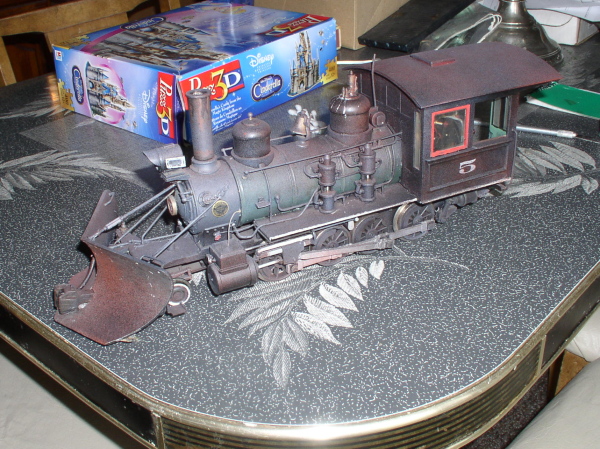
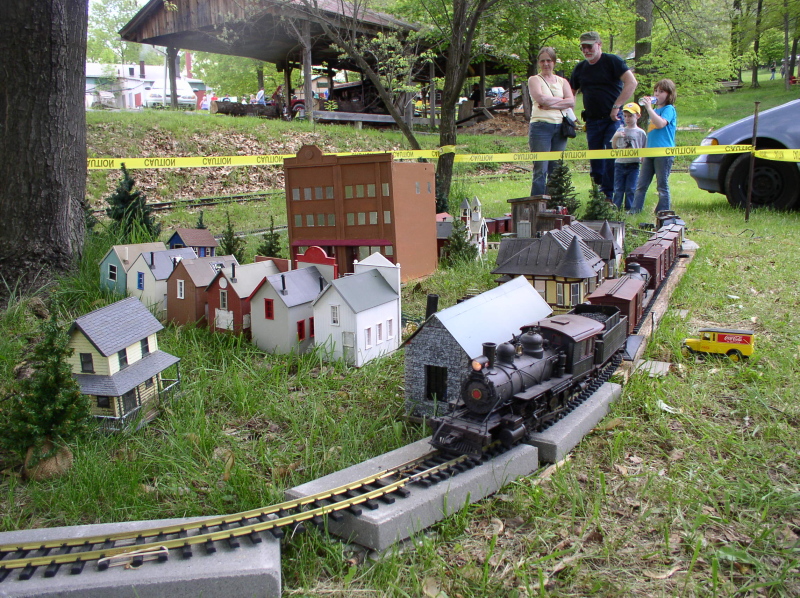
You can also do a lot of freight cars this way in a short period of time - just use lighter dustings.
This close-up shows the actual mottled or speckled results, but, as mentioned, your brain processes it differently.
You can also do a lot of freight cars this way in a short period of time - just use lighter dustings.
Method #2: Acrylic repeated washes:
This method is a little more labor intensive, and takes longer. It also can be a bit more realistic for models that will be viewed close up. Again you start with the base model with decals and any 'oopsies' applied. However this time you'll absolutely need to gently wash it with soap and water to remove the oils from your fingers, or you'll get bare spots! - Also, you might just want to do this with the model on newspaper, 'cause it's gonna drip!
Then you simply give the model several washes of paint thinned with water and a drop of dish liquid to reduce the surface tension. Several thin washes allowed to dry between produces muc better results than fewer heavy ones. I usually start with a charcoal grey. Gravity and capillary action does most of the work for you.
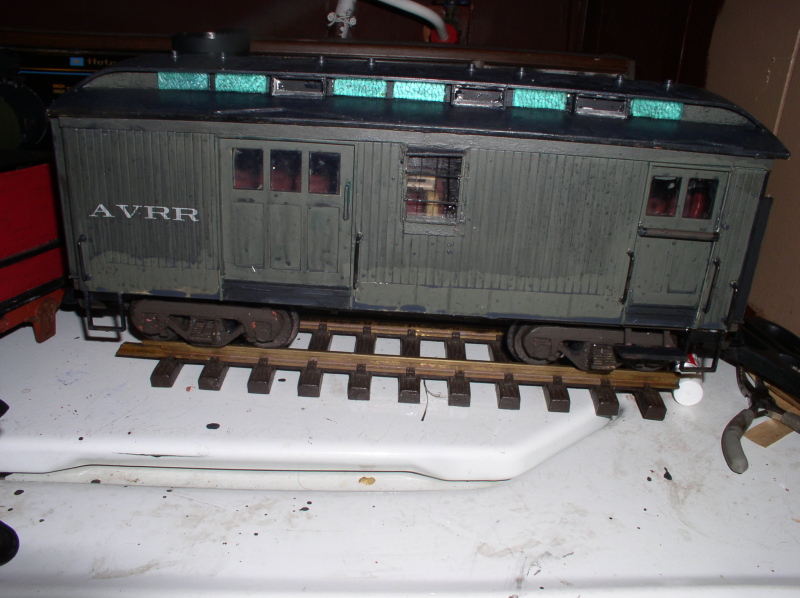
To produce that old paint sun faded look, you'll need to mix a much lighter wash using a color close to the base and some light grey. Again repeat thin washes until you get the effect you want
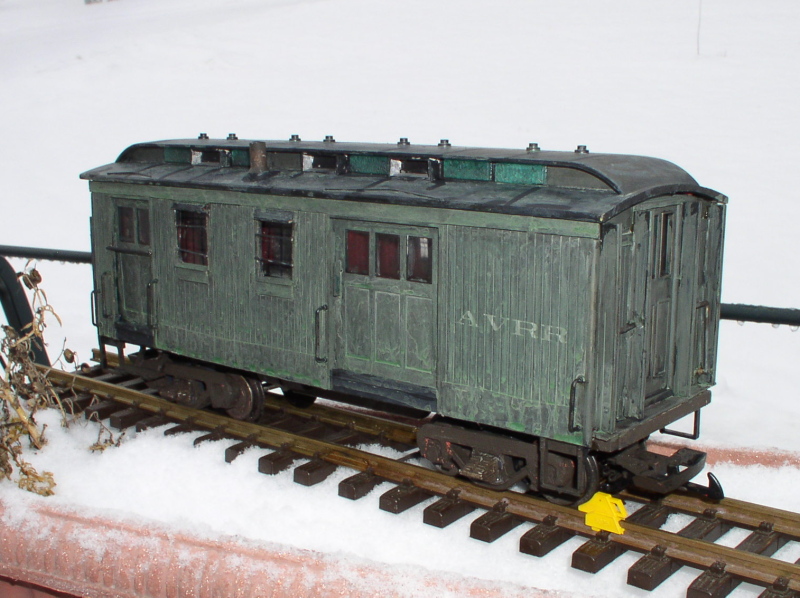
Actually the Pullman green/light grey wash works pretty good on other colors too!
If you want it to look REALLY decrepit, You can combine both methods - first the washes, then overspray

Method 3: Washes plus a little magic:
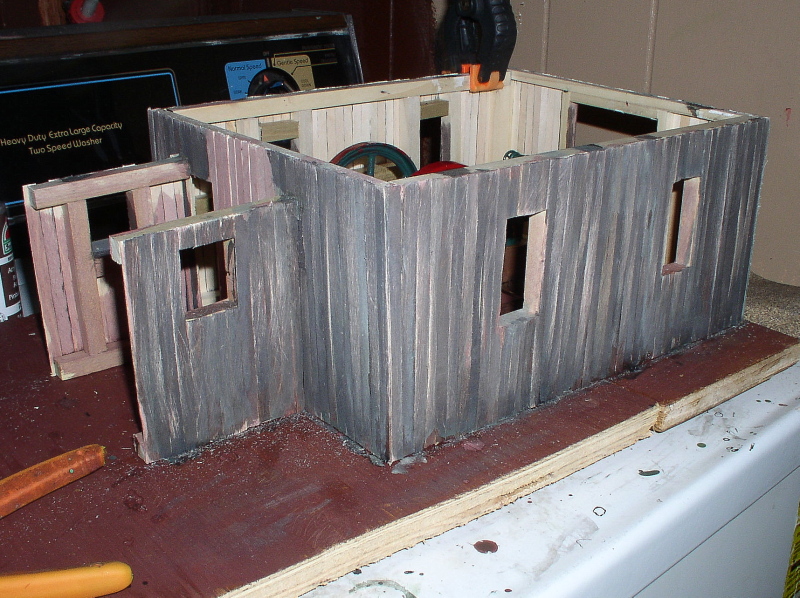
Now that you've got method 2 for general grunge down, we can proceed to work on getting a different effect. Peeling paint I did this on raw wood, but it will work on plastic as well. You'll need to start with a neutral base. raw wood, flat white or beige painted plastic (for wood - metal should be painted rust color then you'll skip to step 3)
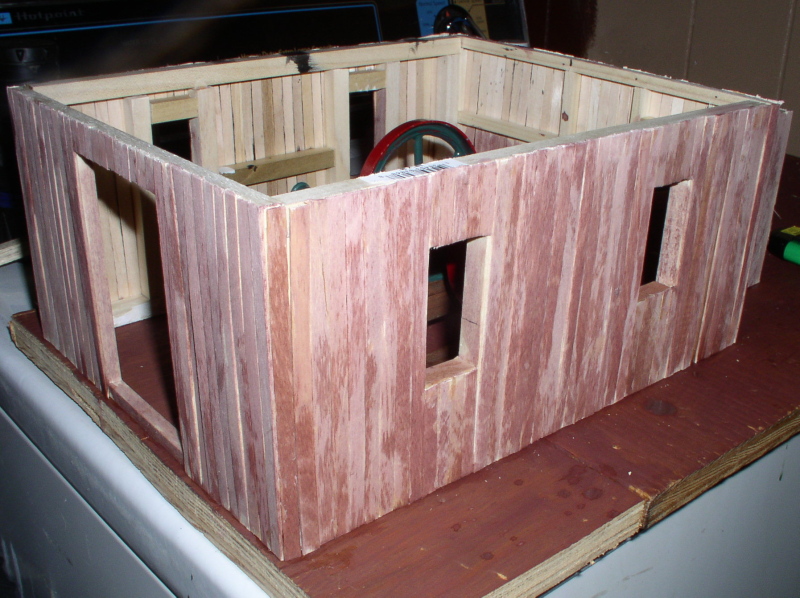
Step 1: You'll do good old washes/stains to make it look like really old wood. First a red/brown wash or two (I used a bit of barn red with a chocolate brown plus the water and detergent)
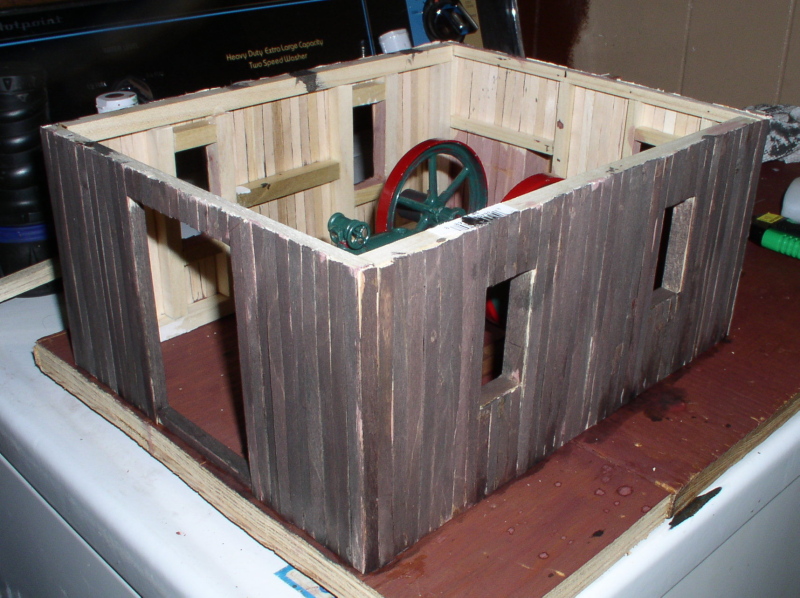
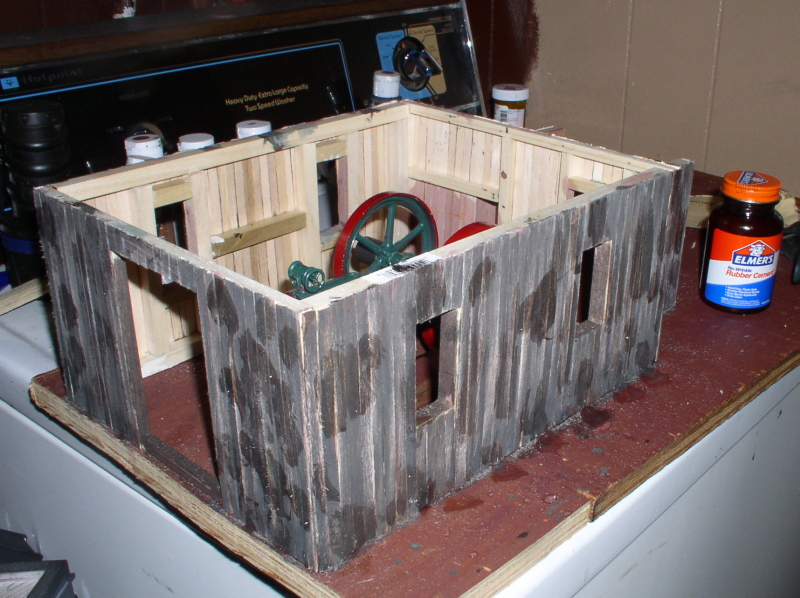
then add a black wash or two
then some of that green/grey we had left over from before... looks like total crap, doesn't it?
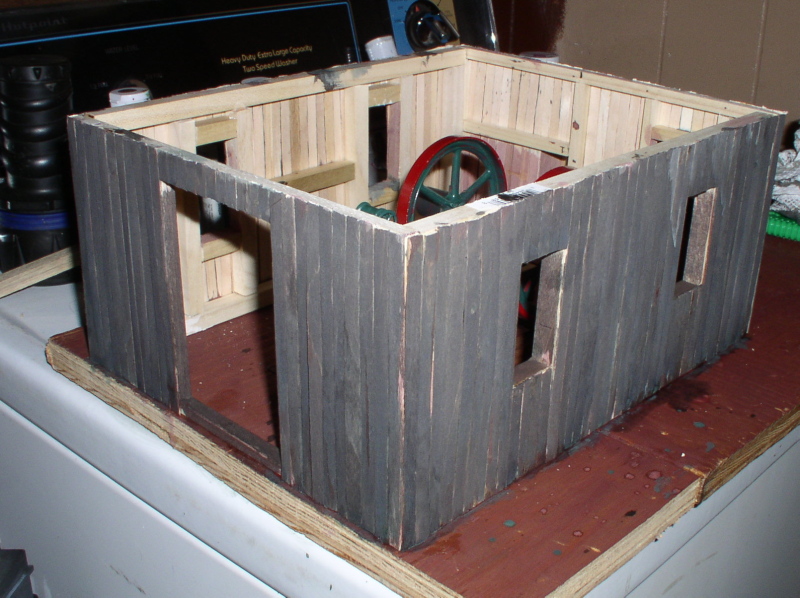
If you like te bare wood look, you can stop here, otherwise, on to:
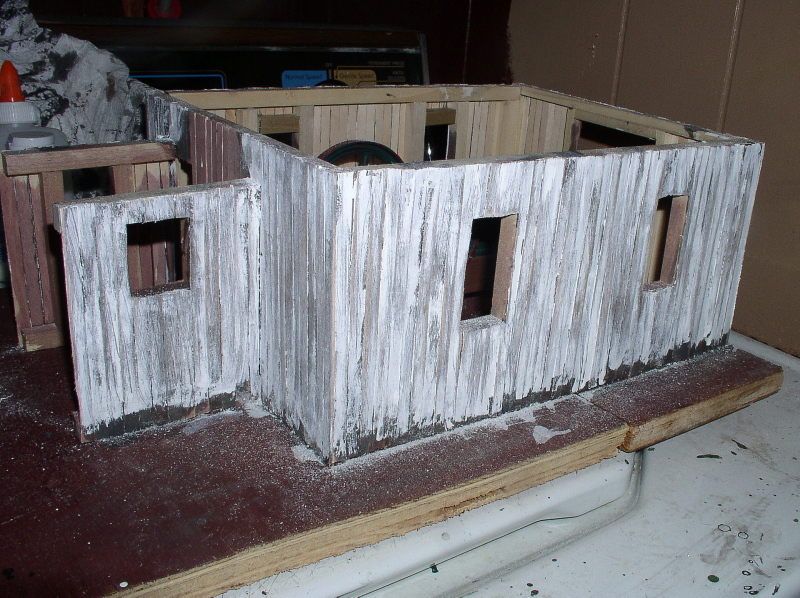
Step #3: Let the magic begin! Our secret ingredient is one you've known and hated since grade school. Good old rubber cement.... Simply stipple it on randomly with a stiff brush, and allow it to dry. If you want larger bare patches put on a little more. It's a random kind of mask. Wherever there is rubber cement there won't be paint when we are done.
Step #3: Let the magic begin! Our secret ingredient is one you've known and hated since grade school. Good old rubber cement.... Simply stipple it on randomly with a stiff brush, and allow it to dry. If you want larger bare patches put on a little more. It's a random kind of mask. Wherever there is rubber cement there won't be paint when we are done.
After the rubber cement has had a chance to harden, you can paint the model. I just sort of slopped it on with a brush because I wanted it to be very uneven. If you intend to decal, now is probably when you want to do it.

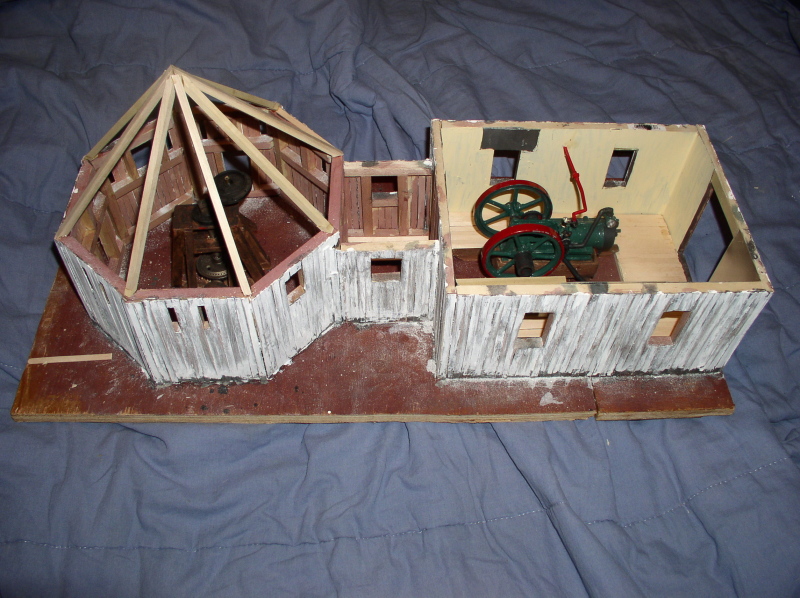
Again, you can quit there, or use whatever method you like to weather it even further....
There you have it, and it wasn't all that hard and didn't cost a lot either.