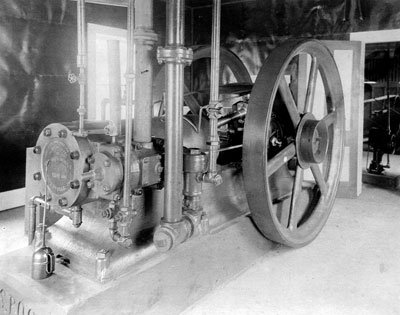
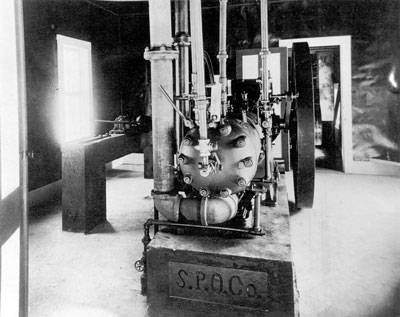
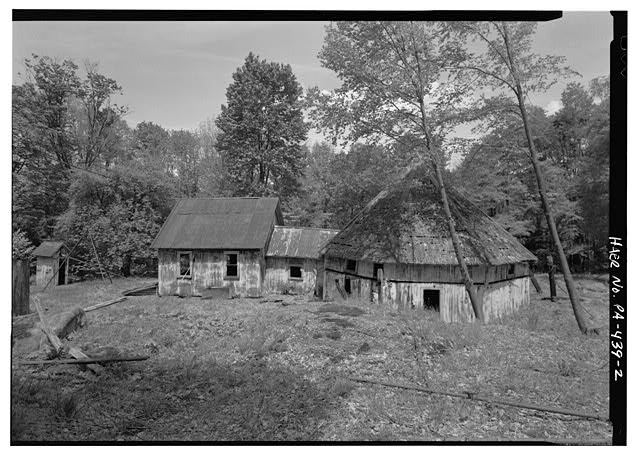
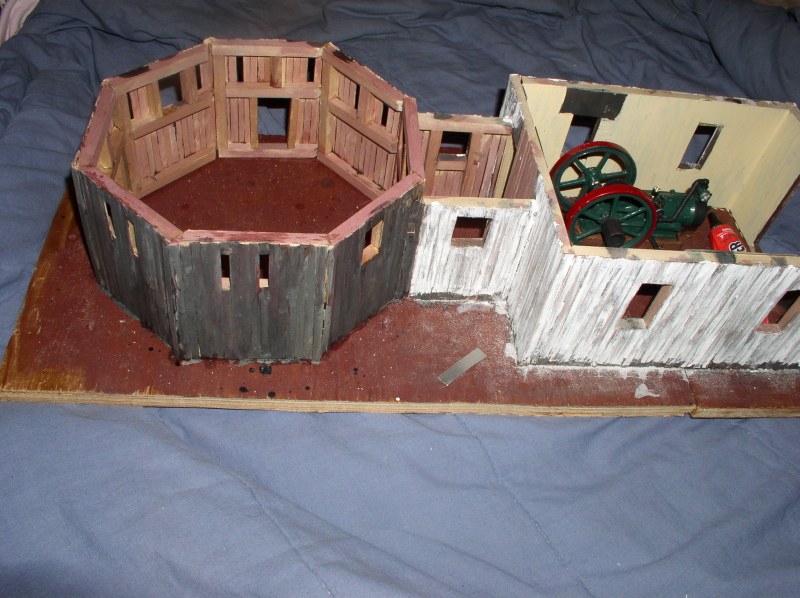
In between the two large structures was
a connected building that not only kept the drive belt dry, but housed
the starting air compressor and tank, plus a 2 pass condensor to remove
water from the natural gas that the engine ran on. If you closely at
the Olin pic (3 above) you can see the inverted compressor through the
open door.
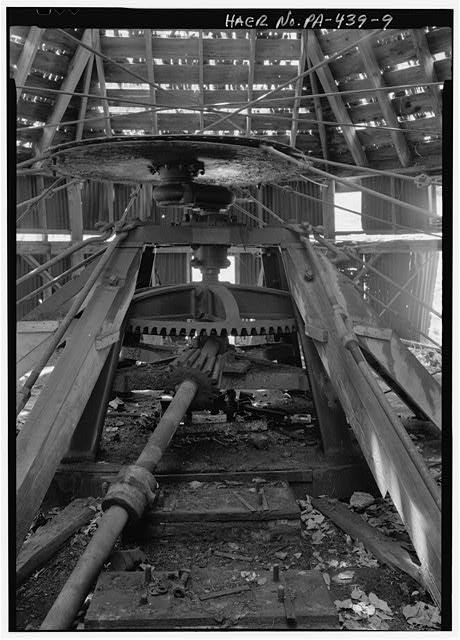
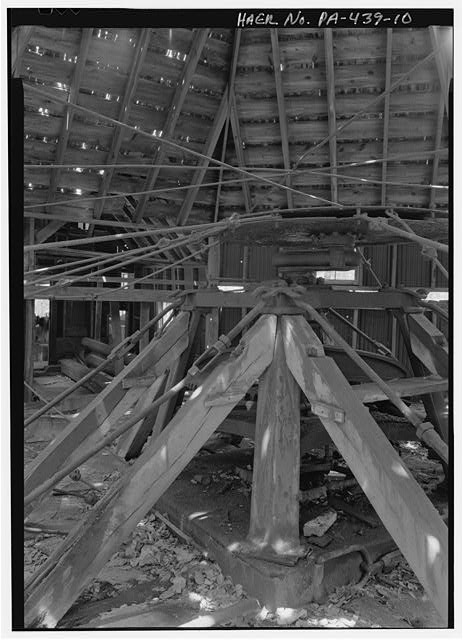
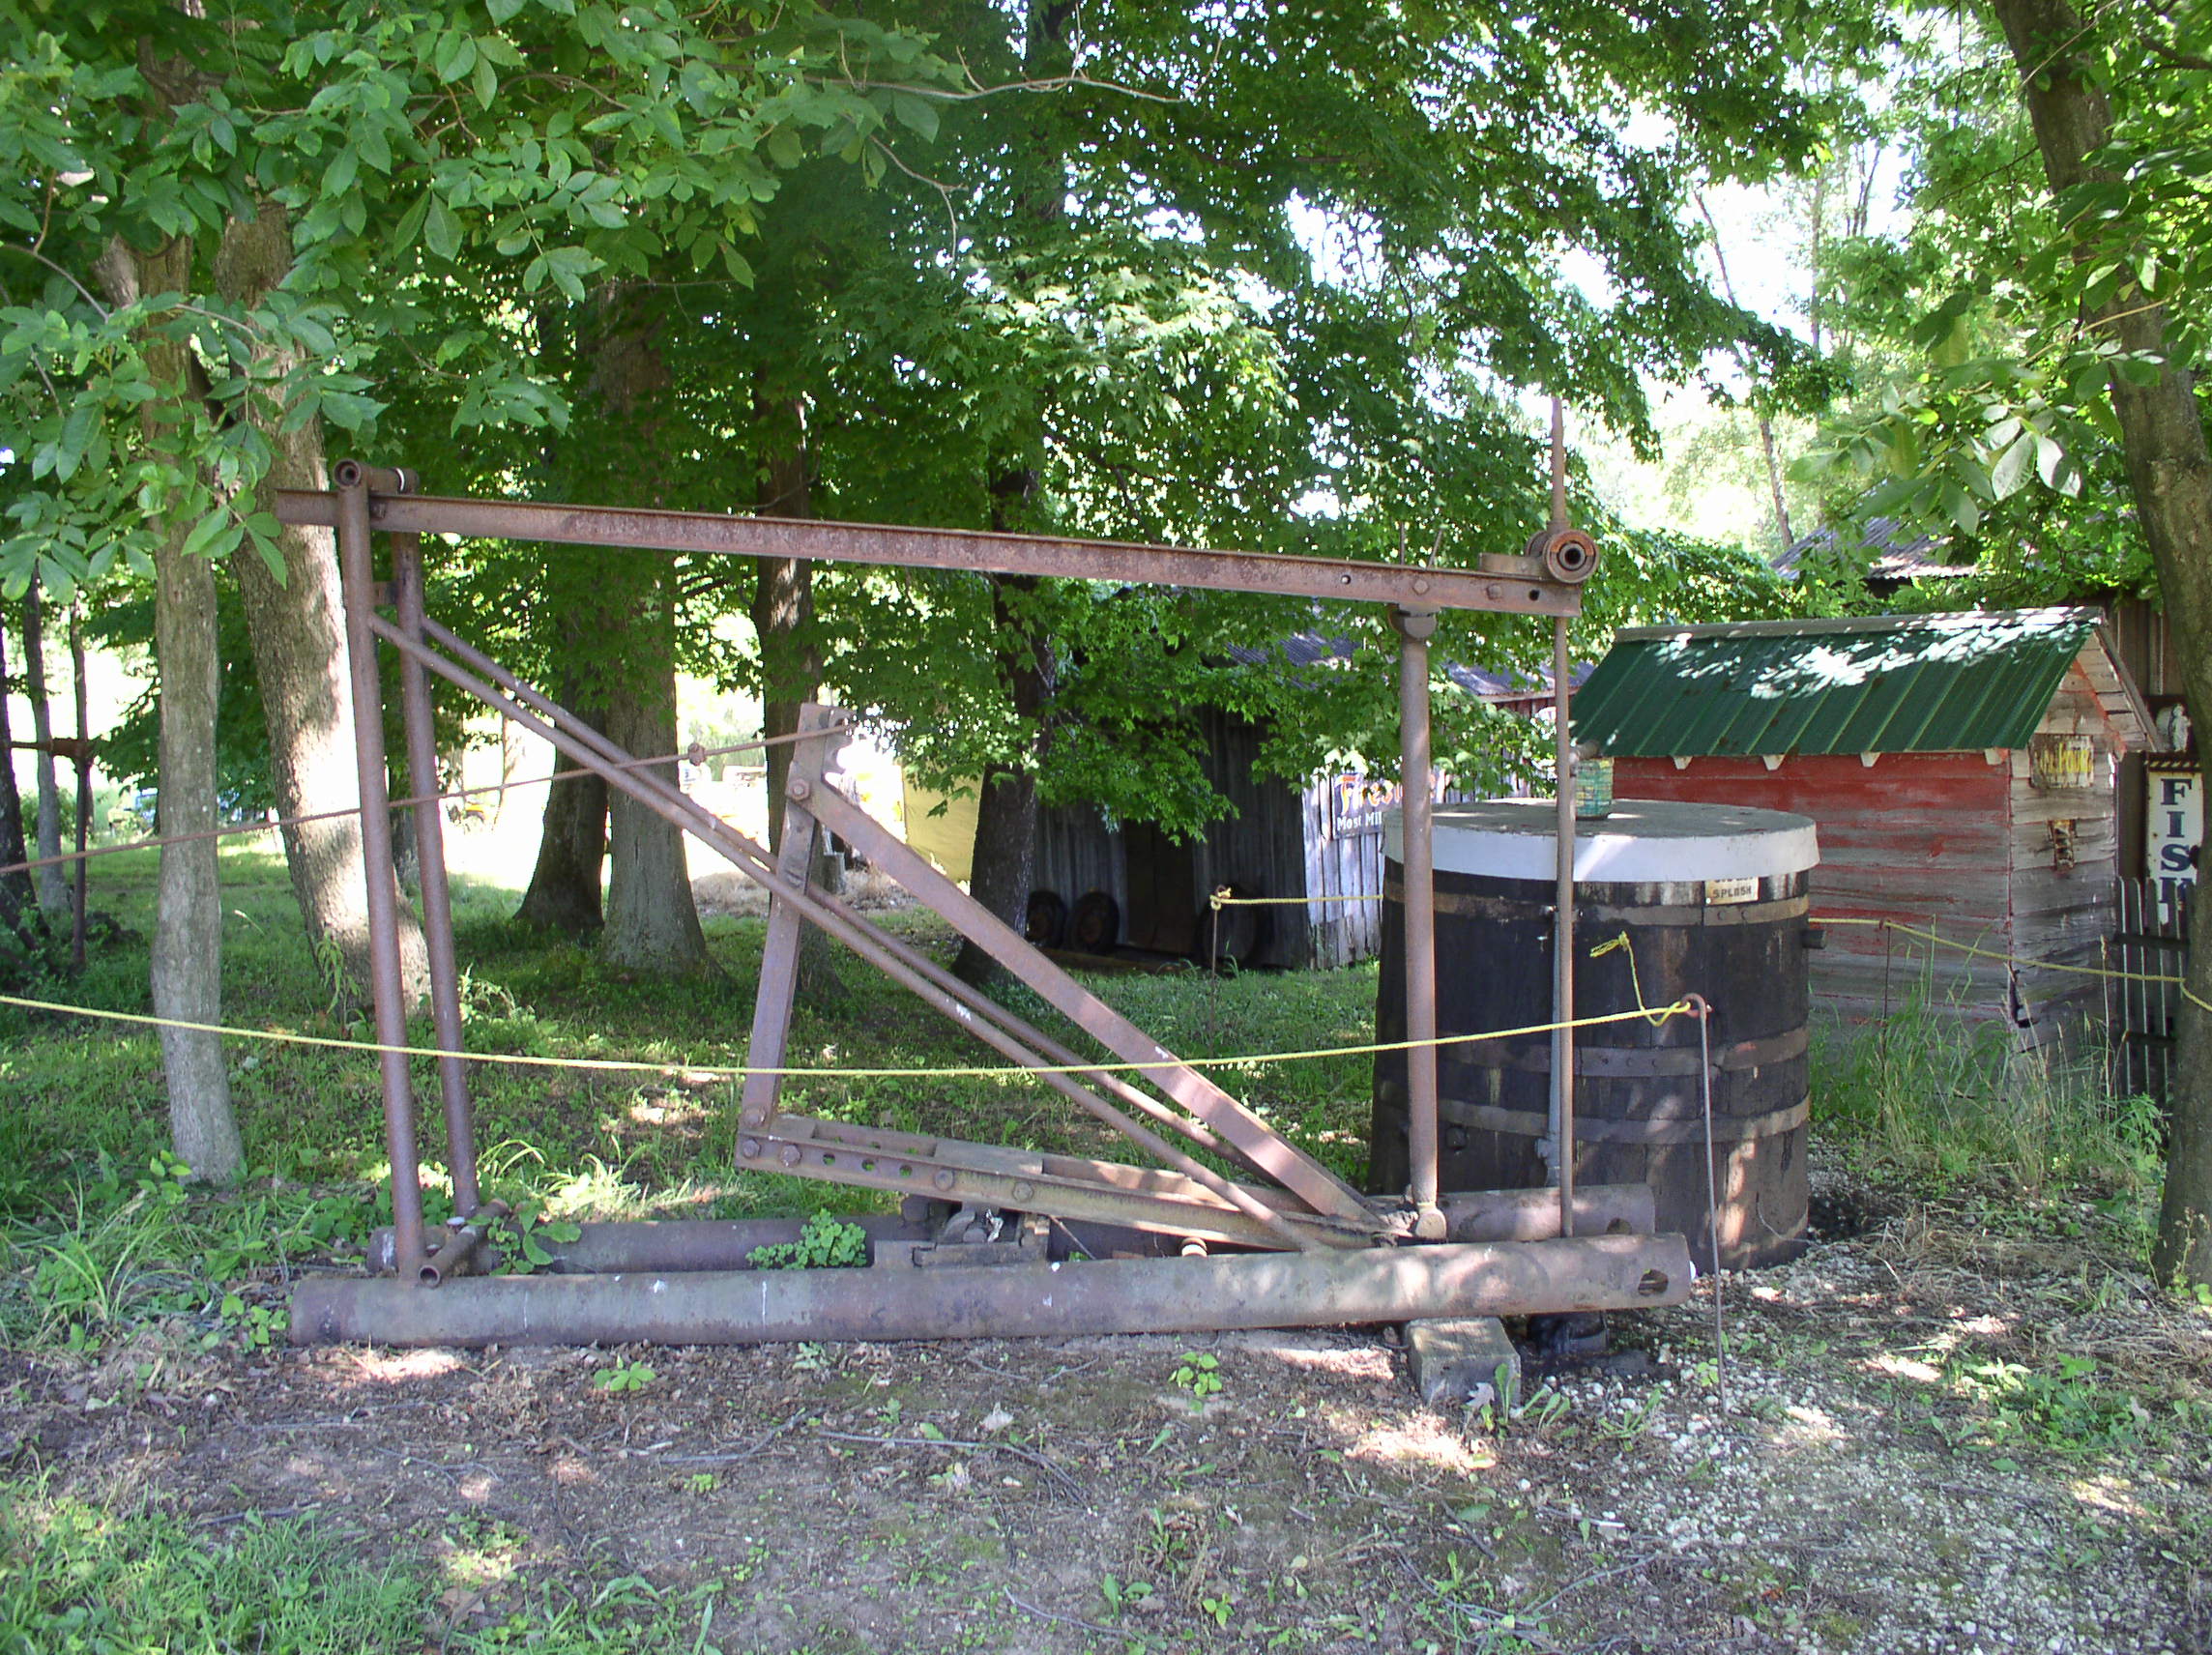
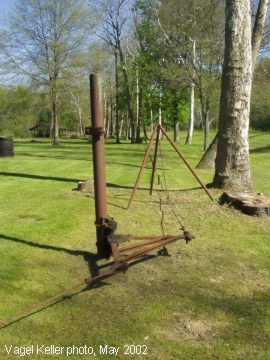
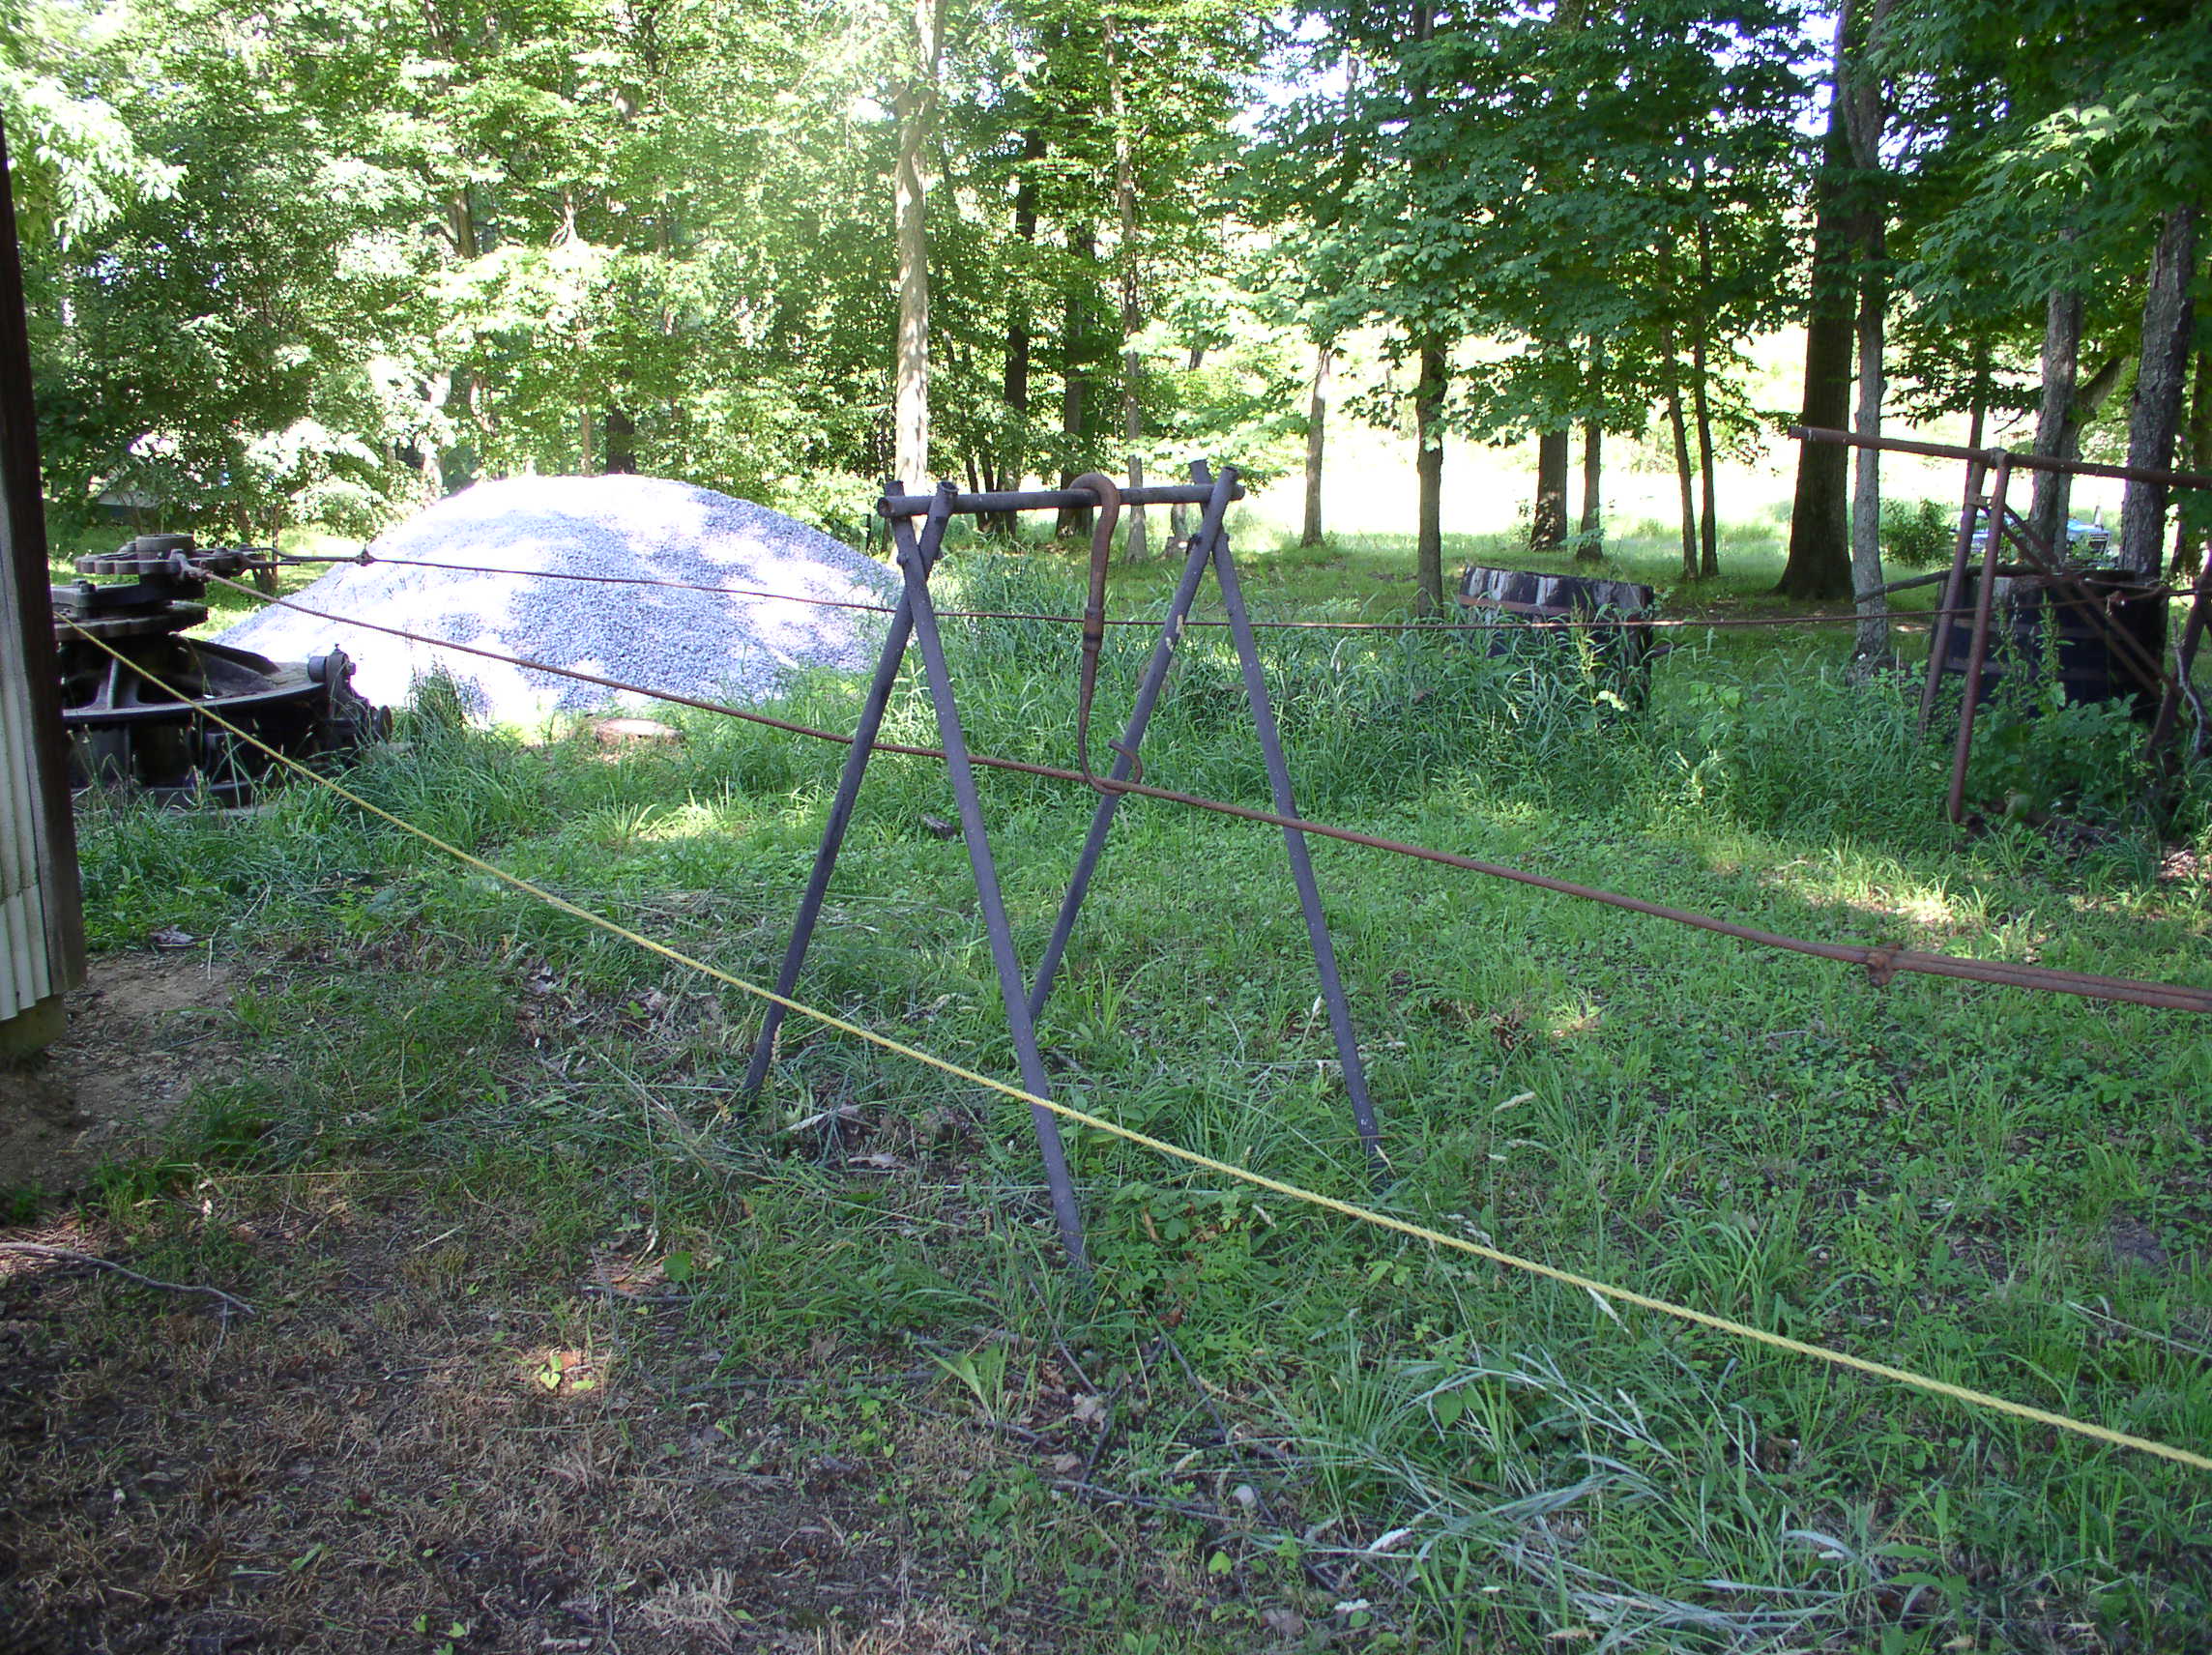
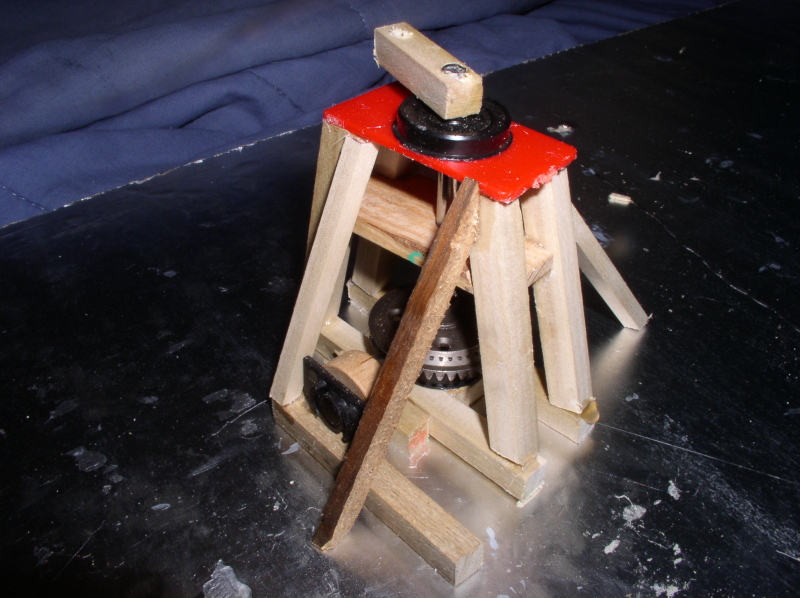
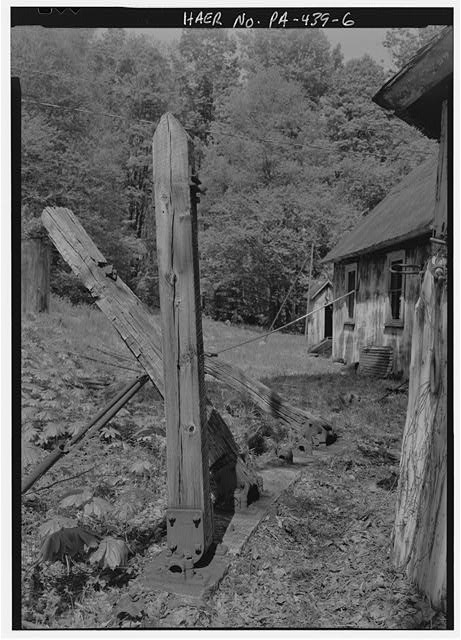
Another interesting feature are these swing posts or amplifyers. By
moving the connection point up or down you can lengthen or shorten the
stroke of the well pump so that wells of varying production will take
the same length of time to pump.
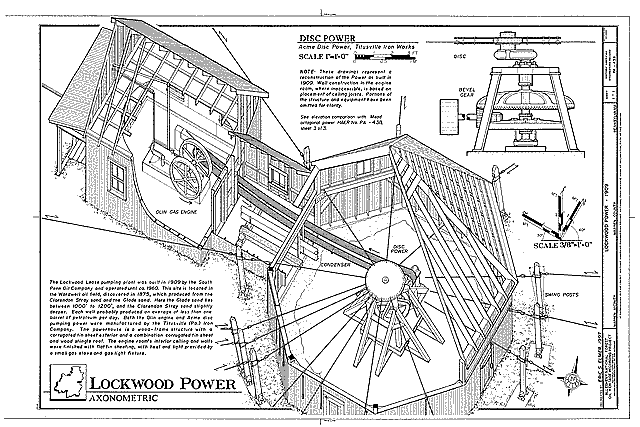
For those who absolutely need a drawing, here is one... sort of. I found it only marginally helpful.
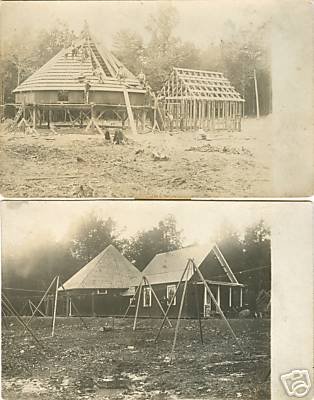
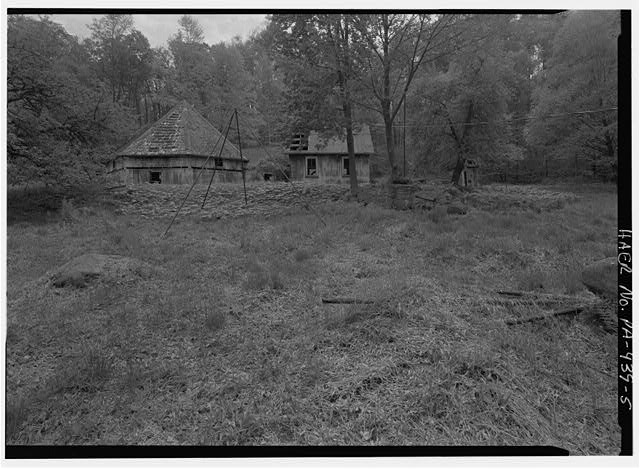
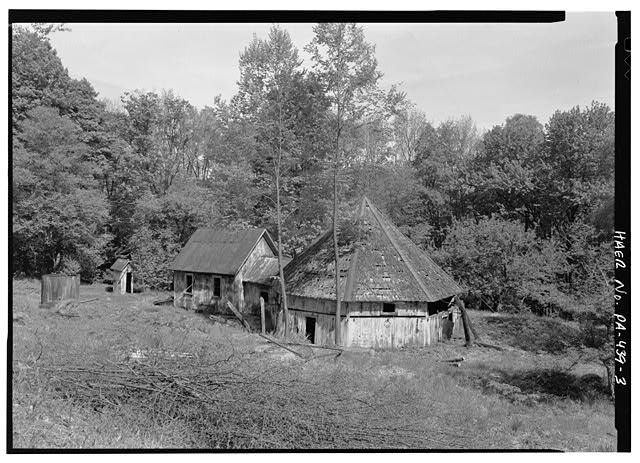
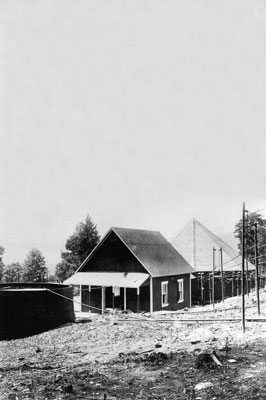
Some more photos to help ease construction.
You now actually have much more information than I did at the time I started!
On to the model:
I'm going to be making a number of changes along the way. To add visual
interest, ease construction, or just because I feel like it. That's why
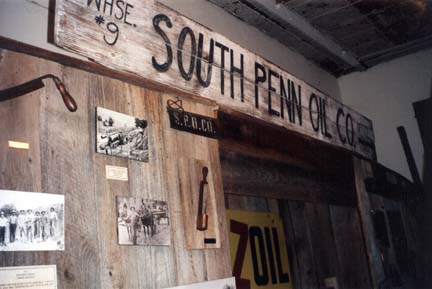
I call it a South Penn
style
pumping station. The basic architecture itself will still remain the
same. Actual construction will jump around a bit, but I'll try to
organize the chaos here for the sake of simplicity.
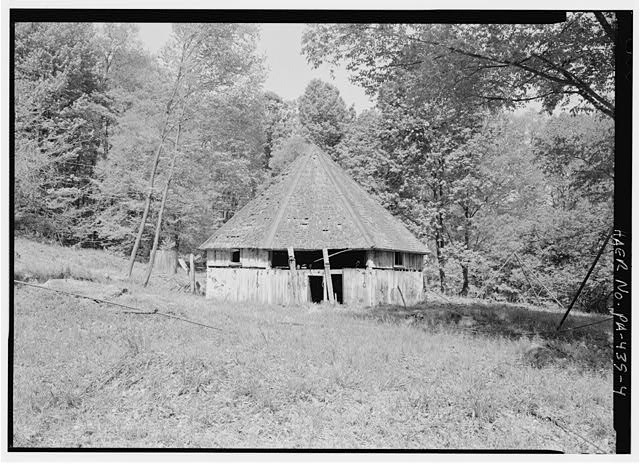
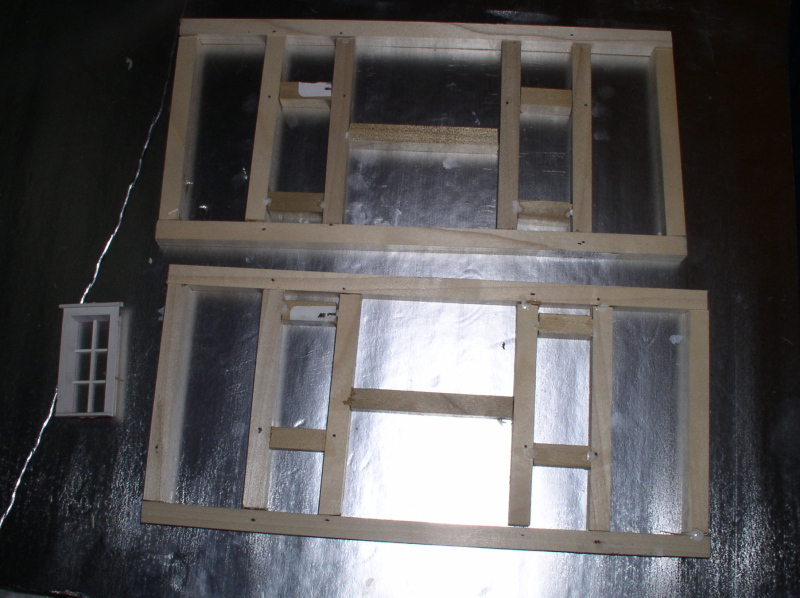
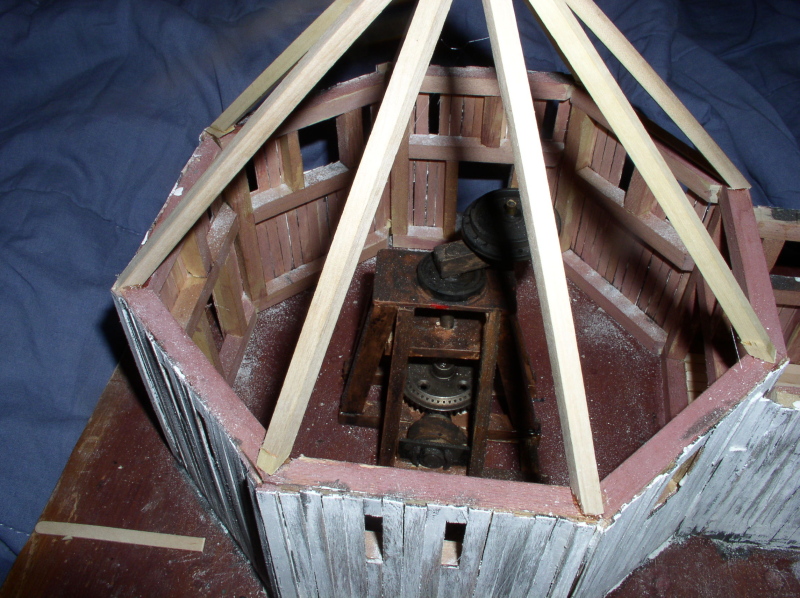
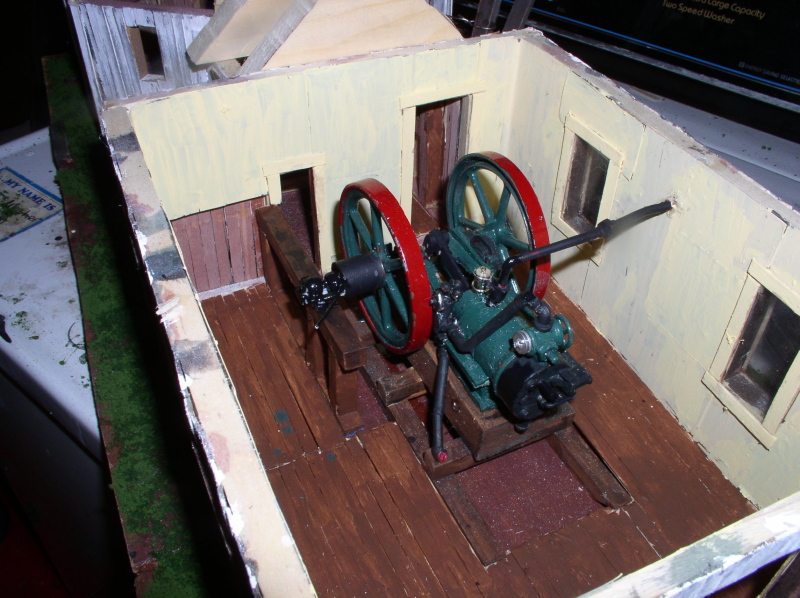
Part 1: Enginehouse
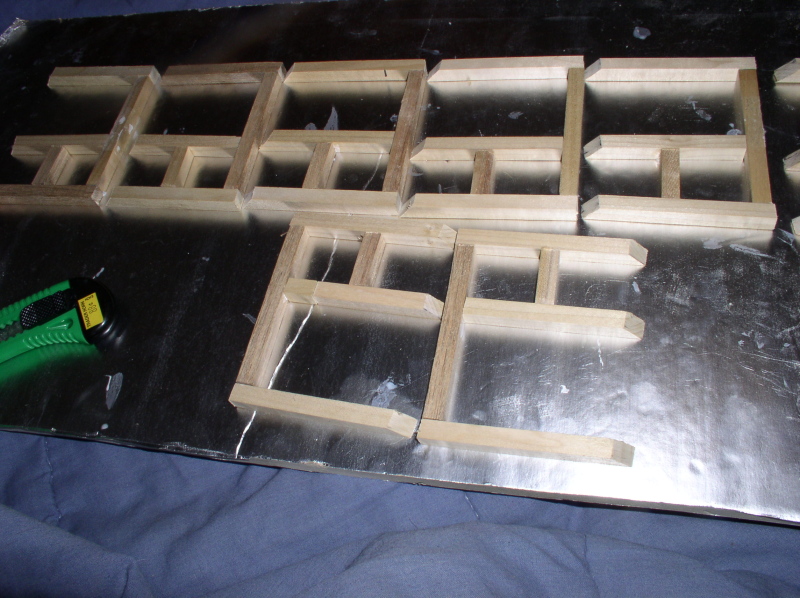
4 pretty basic walls. 4 windows, a man door, a beltway, and a large
utility door. I actually made it a little oversized. The framing was
done on the sidewalls (which support the roof) with 3/8" square
(9x9s in 1/24) for strength against 1:1 clumsiness.
The end walls were framed the same way, but with 1/4" square I used
Elmers without any pins to make the joints since this will be mostly
shown inside. Only time will tell if this was a mistake.

.
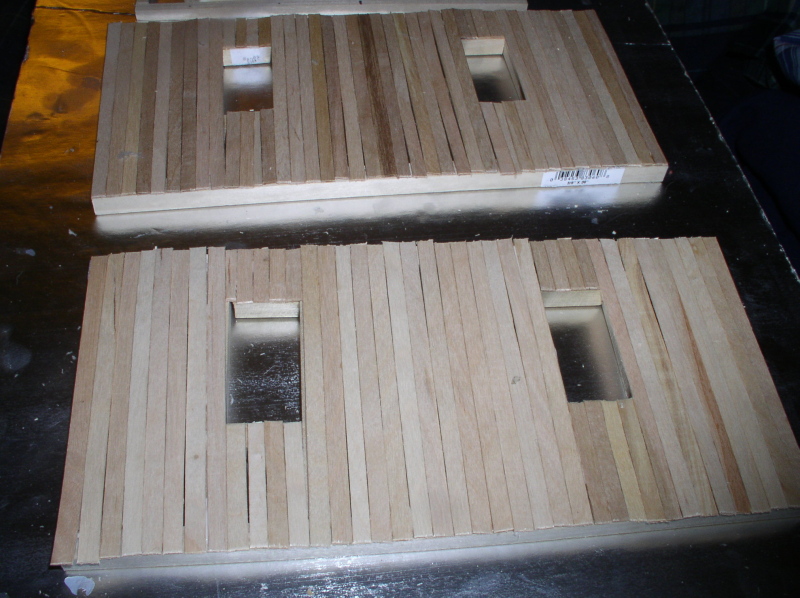
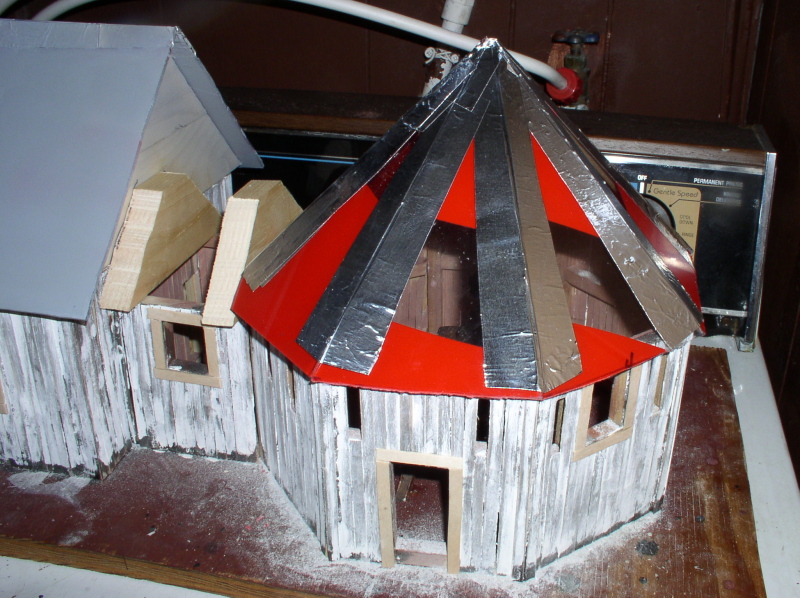
Instead of corrugated iron I decided to side the buildings with rough
cut lumber, aka coffee stirrers. "Board on Board" sounds difficult and
tedious. But it goes pretty fast and easy when you can simply match cut
multiple boards with sprue nippers.
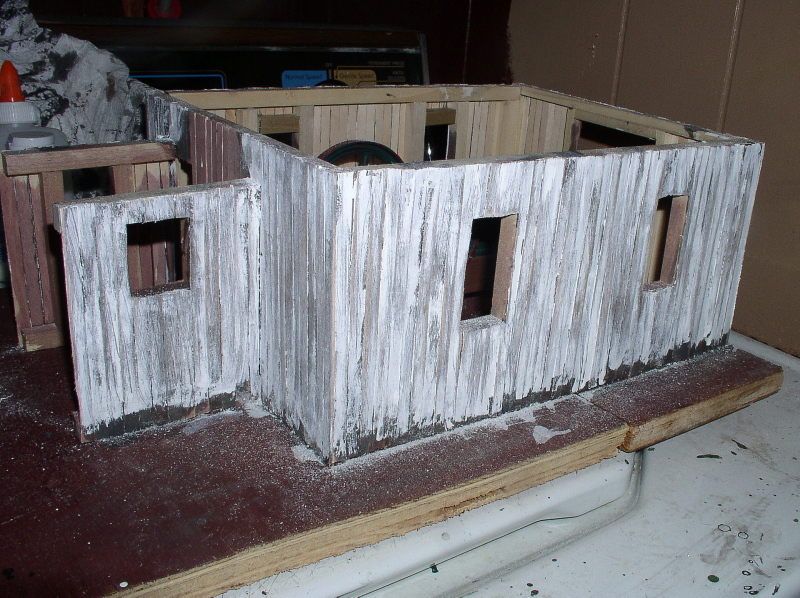
The assembled walls were then weathered with the #3 method explained
here
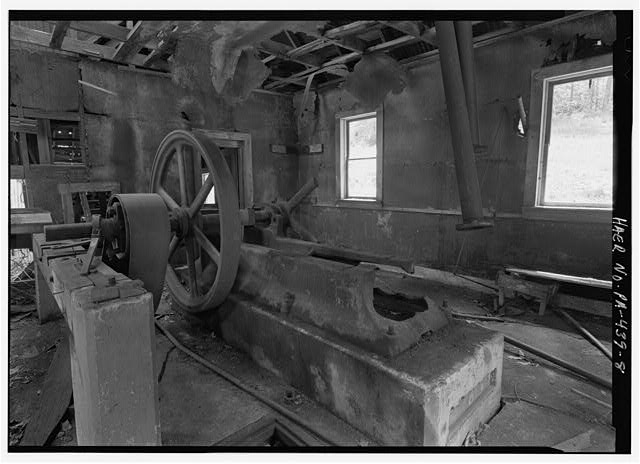
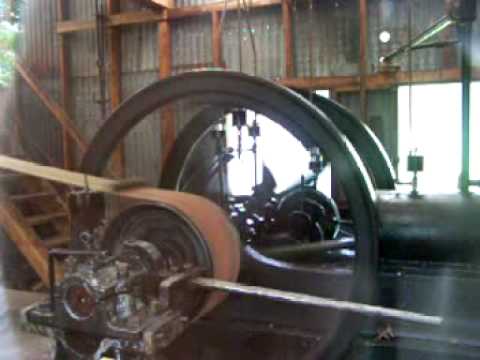
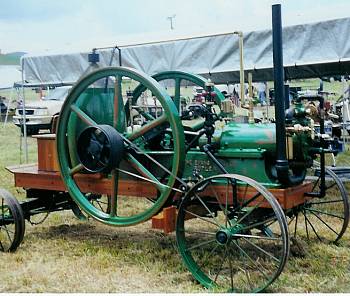
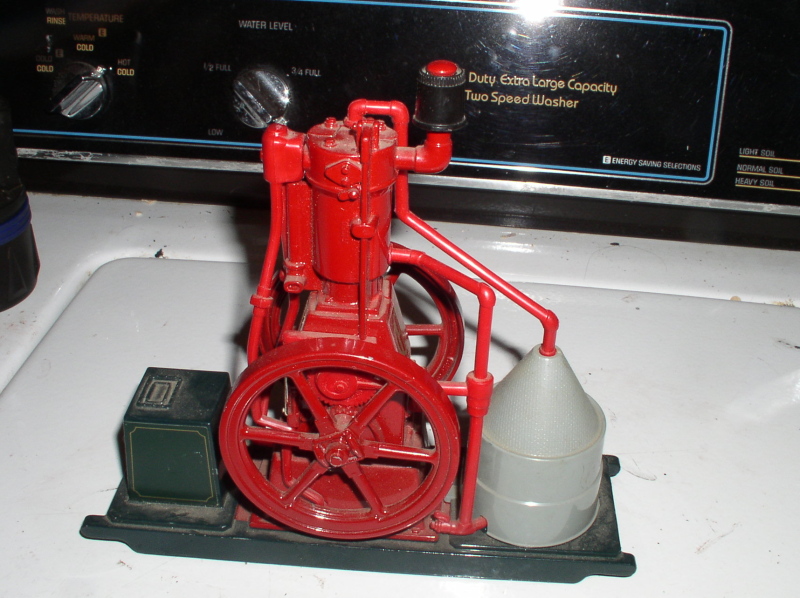
I decided to make another major
change on the engine. Instead of an Olin, which I didn't have parts
for, I decided to remake a diecast toy into an Evans (made in Butler Pa)
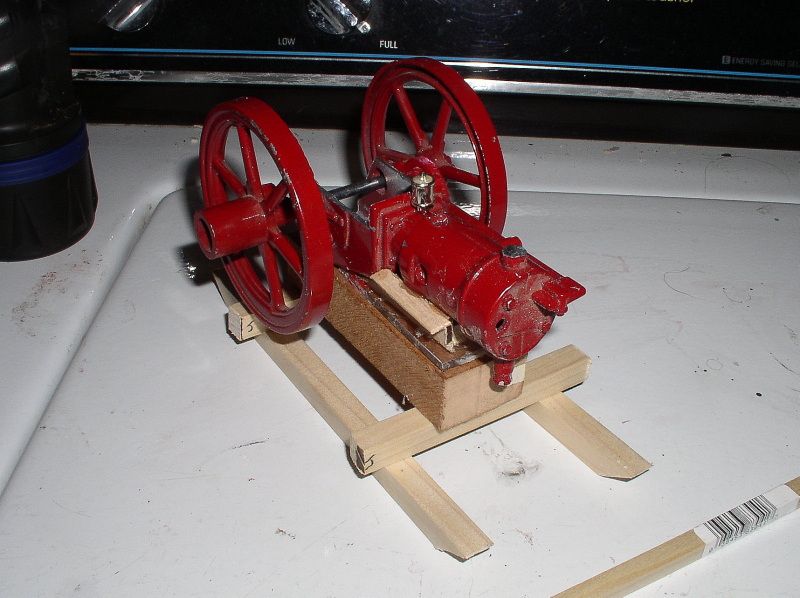
To make it, I started with this. a 1/12 scale IHC famous from Ertl.
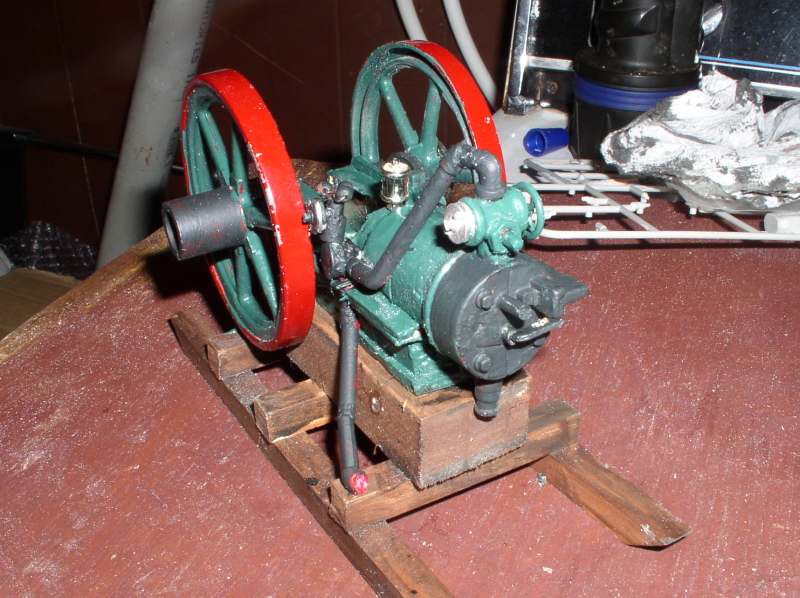
I cut it apart and laid it over fabricating much of the parts from wood.
Then added a few details. The governor weights are plastic pearls, much of the piping was salvaged from the Famous
I think it came out OK.
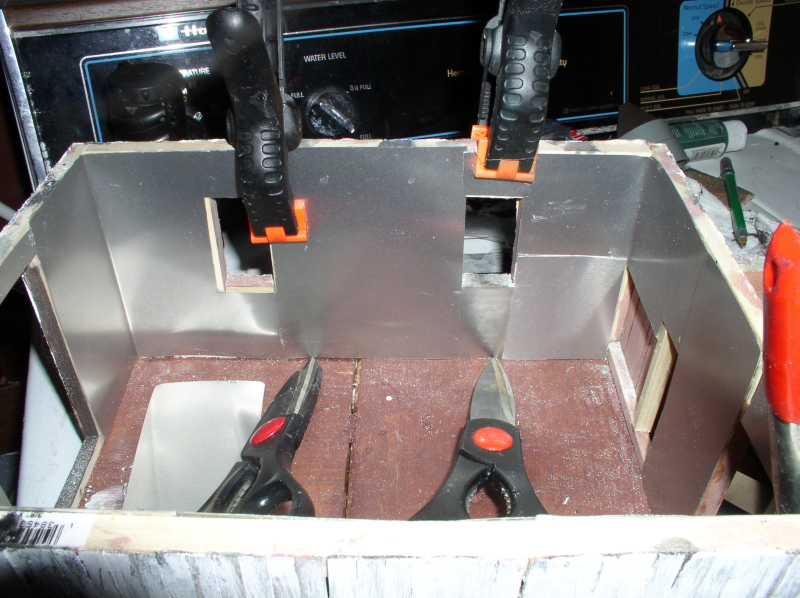
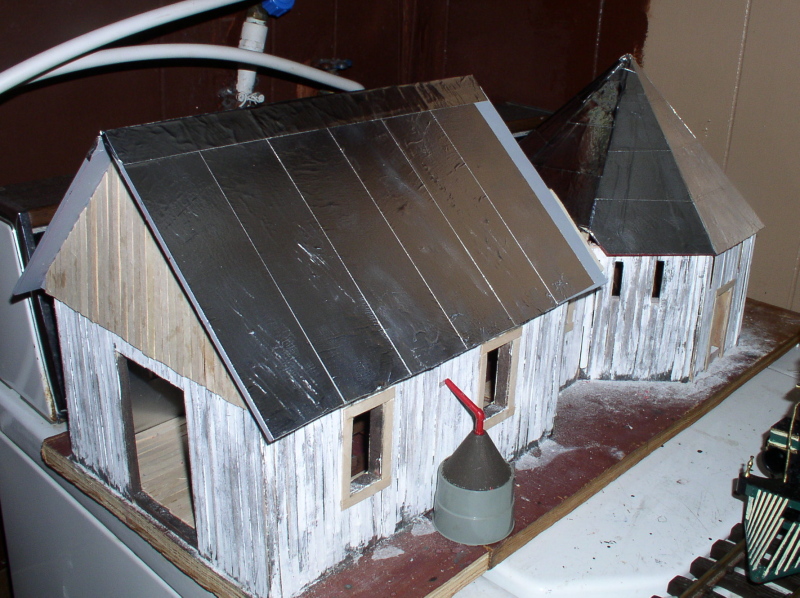
The inside enginehouse walls were clad with thin aluminum flashing.
.The floor was also planked, instead of concrete. The non-operable clutch is 2 beads a bit of wire and some styrene
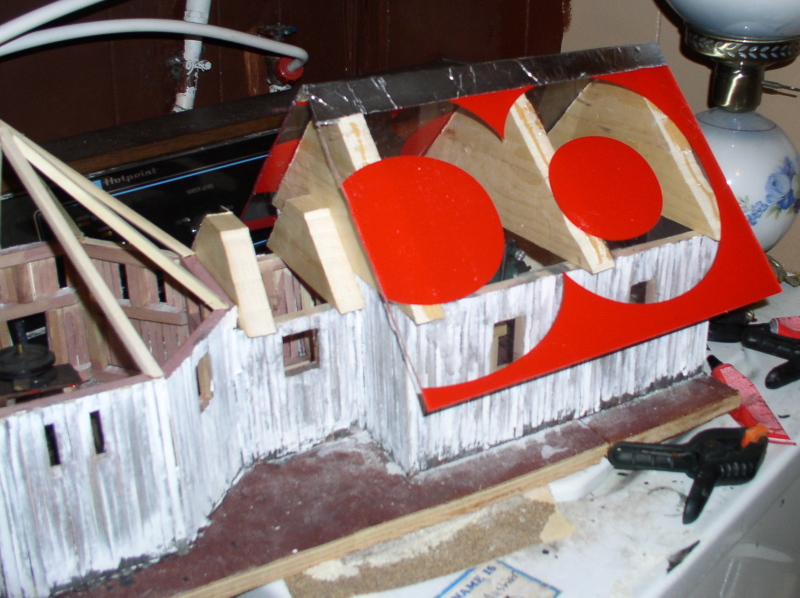
The powerhouse:
Again the walls were framed with 3/8" square for strength.
and planked with coffee stirrers