a primer

This article is intended for the folks
who are just getting started in photographing their models, or those
who aren't happy with the results they are getting. If saves somebody a
bunch of wasted shots and needless aggrevation, then it was worth it.
First and foremost; You don't NEED a big fancy camera, just one with a decent lens. The following sample images were all taken with an old obsolete Olympus C-4000 4.0 megapixel camera that I got used for $40. It gets used for just about everything now, even though I have 2 very nice film SLRs. Digital cameras will save you a lot of money over film, especially while you are practicing and learning. I often take 2-3 pics for every one I get that is worth sharing, and maybe 10-15 for every one that comes out really nice. That's about average from what I've been told. Learn these basics of good photography first, and you won't need to rely on a bunch of post production tricks like Photoshop.
Keep it Steady - The biggest problem many folks have taking pictures of anything small is keeping the camera steady, your body moves more than you notice. Pressing the shutter also often shifts the camera slightly. A mini tripod is good if you have one, but a small sandbag is more versatile. An easy cheap one can be made by filling an old heavy sock with uncooked rice, dried beans, pebbles, or yes, dry sand. The second part of this is, for still pictures, use the camera's delay timer... it gives the camera time to steady after the shutter button is pressed.
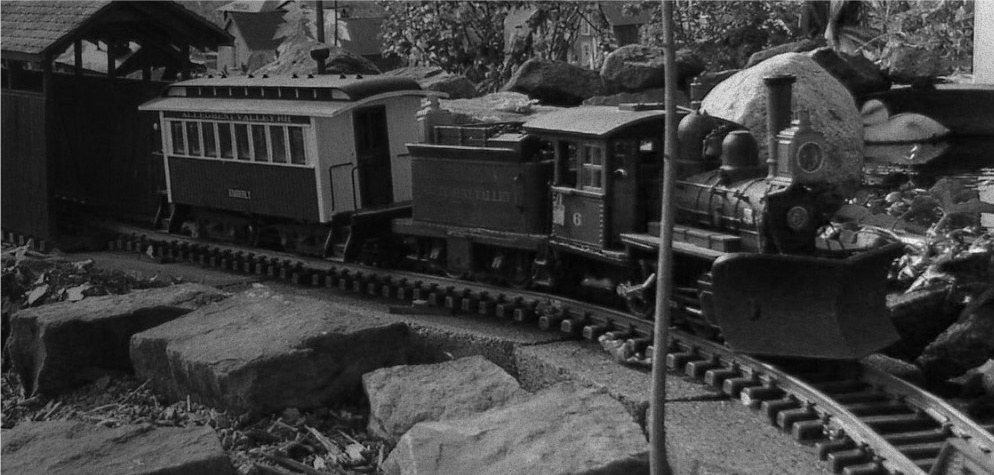
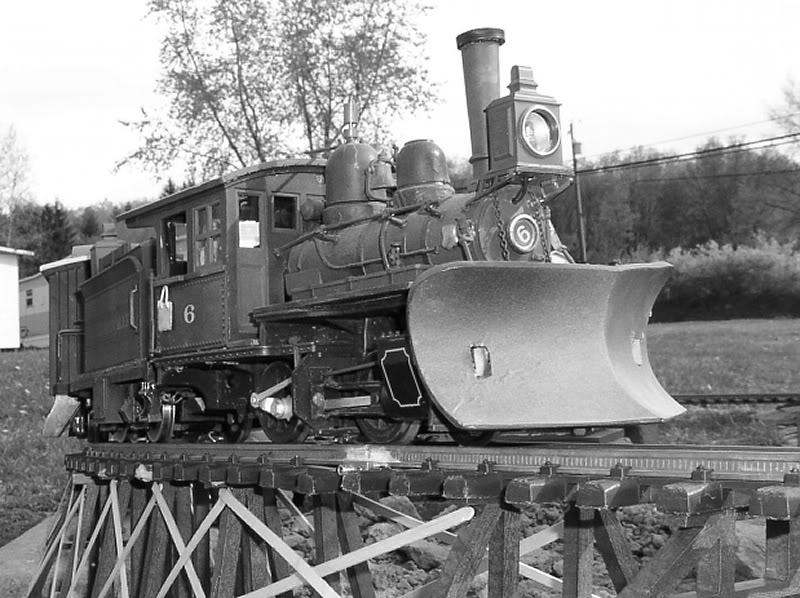
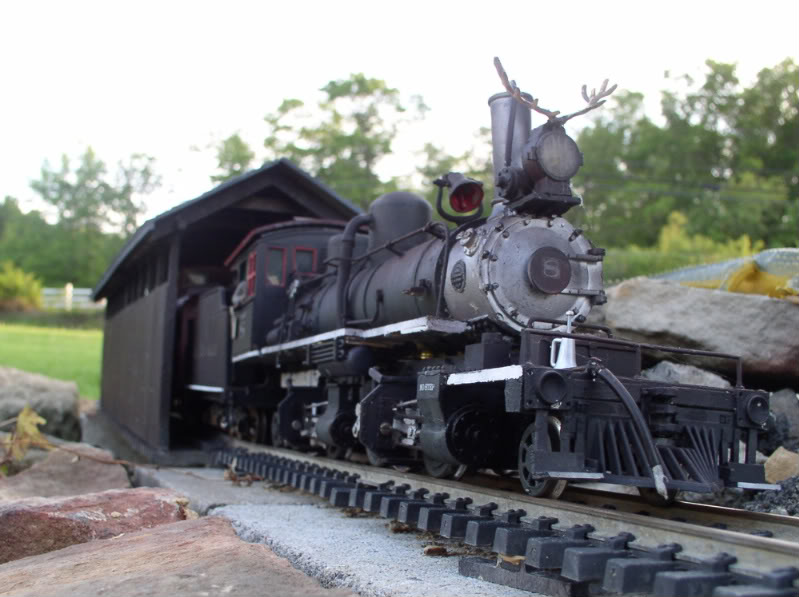
Practice Realistic Framing - Unless they're shot from an overpass, we rarely see the upper parts of the train. Try shooting from as low as possible. And frame as tight as possible if there is junk you don't want people to see. This is obviously just a bunch of toys/models. I repeat, get l-o-w
First and foremost; You don't NEED a big fancy camera, just one with a decent lens. The following sample images were all taken with an old obsolete Olympus C-4000 4.0 megapixel camera that I got used for $40. It gets used for just about everything now, even though I have 2 very nice film SLRs. Digital cameras will save you a lot of money over film, especially while you are practicing and learning. I often take 2-3 pics for every one I get that is worth sharing, and maybe 10-15 for every one that comes out really nice. That's about average from what I've been told. Learn these basics of good photography first, and you won't need to rely on a bunch of post production tricks like Photoshop.
Keep it Steady - The biggest problem many folks have taking pictures of anything small is keeping the camera steady, your body moves more than you notice. Pressing the shutter also often shifts the camera slightly. A mini tripod is good if you have one, but a small sandbag is more versatile. An easy cheap one can be made by filling an old heavy sock with uncooked rice, dried beans, pebbles, or yes, dry sand. The second part of this is, for still pictures, use the camera's delay timer... it gives the camera time to steady after the shutter button is pressed.
Practice Realistic Framing - Unless they're shot from an overpass, we rarely see the upper parts of the train. Try shooting from as low as possible. And frame as tight as possible if there is junk you don't want people to see. This is obviously just a bunch of toys/models. I repeat, get l-o-w
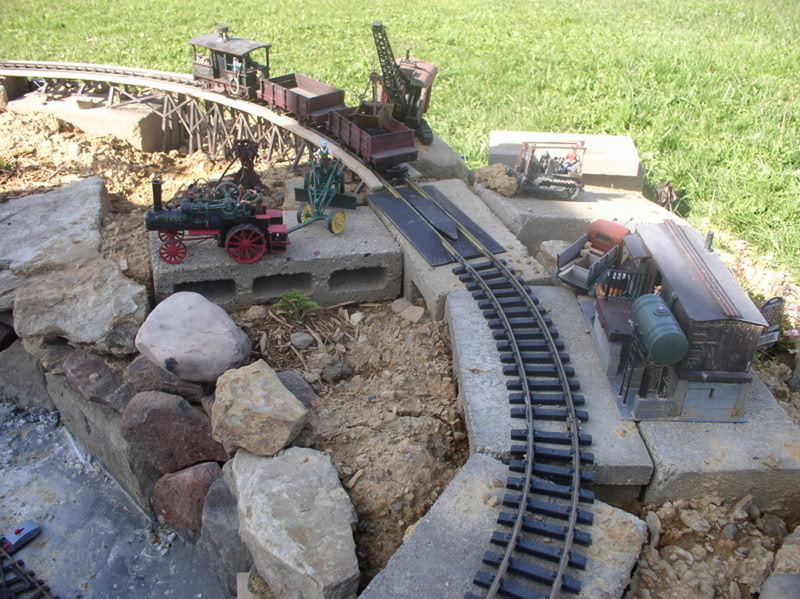
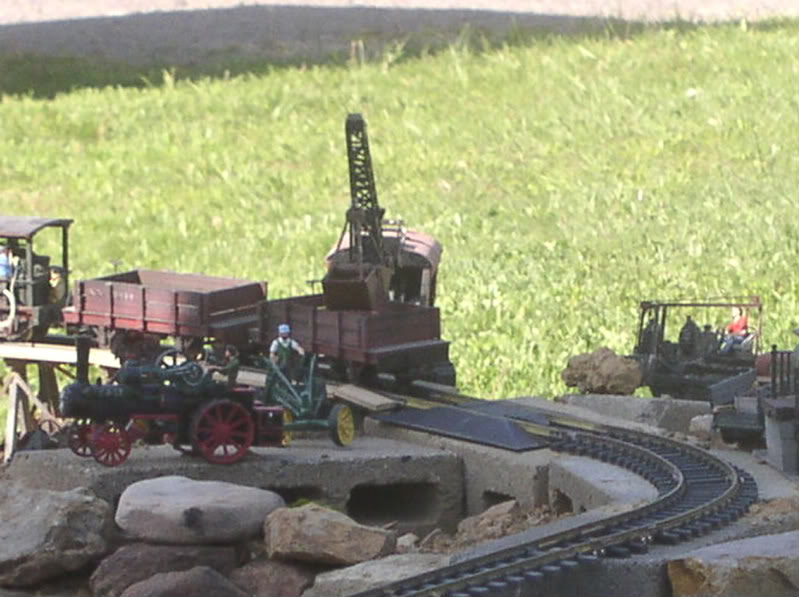
Pay Attention to Clutter
- A really interesting, well framed shot like this can be totally
ruined by background and/or foreground clutter. Try to see exactly what your camera sees,
not just what you want it to see. Then you won't have to resort to
Photoshop tricks to fix things that you could have avoided.

Lighting Tips
- (Trying to get rid of the clutter resulted in lousy framing and angle
again!) The light was getting pretty bad when this photo was taken. I'll simply have to
try something else some other time. Rail photographer John West once
gave me this tip on lighting, "Mornings are for pictures, afternoons
for naps, and evenings for drinks"... I've also had good luck on
overcast days and at dusk too. Unless you are actively going for that high desert look, harsh shadows and bad lighting angles
can ruin an otherwise great picture. Slightly subdued, indirect light
is nearly always best. Flash is nearly always worst.....
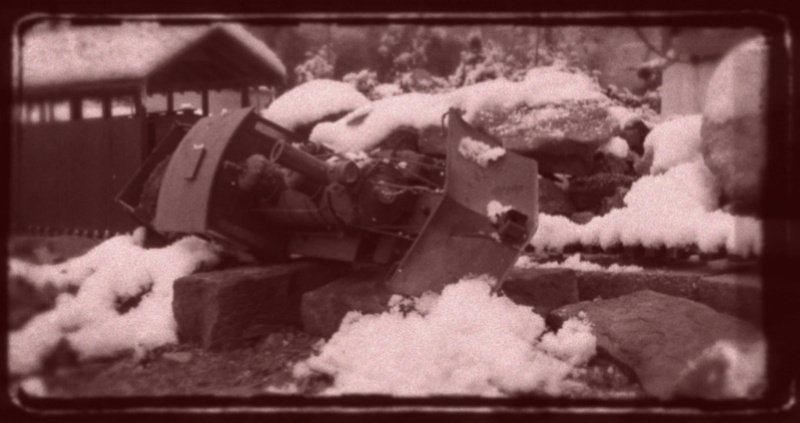
Lighting 2 -Except when the flash is used for a specific effect.... like this O. Winston Link style photo

Some Basic Camera Tricks-
Shooting in Black and White can add drama to a scene - and eliminates any garish toy train hues. Many cameras and photo editors have this option.
Shooting in Black and White can add drama to a scene - and eliminates any garish toy train hues. Many cameras and photo editors have this option.
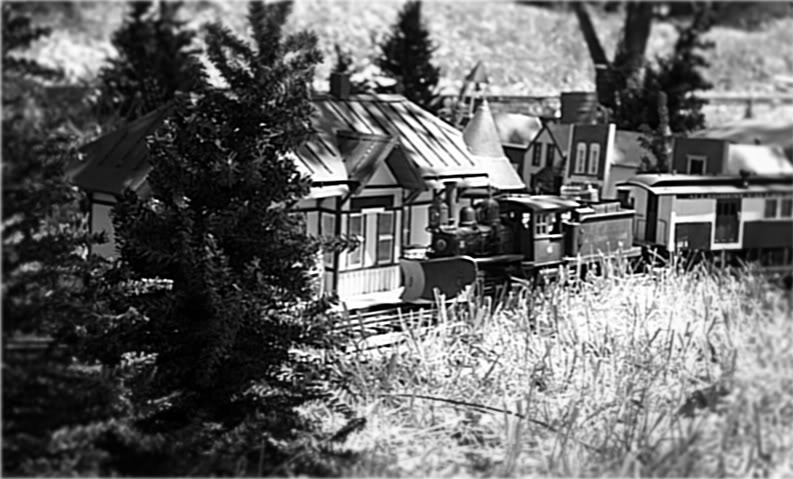
Softening, blurring, or fuzzing the
edges is a time honored portrait effect, and can help hide that pesky
stuff that you just can't get rid of. Some cameras can do this
automatically, Some do it manually by allowing you to set the depth of
field, or you can make an inexpensive spot filter from cardstock and a
bit of old nylon stockings. This one was a more of a happy accident,
the batteries were getting low so the camera didn't focus quite right.
Don't Try Too Hard
- Sometimes you will try everything and it just doesn't quite work, and
sometimes you'll get a keeper by plain old dumb luck. I didn't pose
this shot, a loose rail joiner cause it to stall right there. So, while
trying to figure out the problem, I squatted down and clicked off a
picture -- and ended up with a pretty nice photo.
A Brief Word on Photo Editing and image manipulation-
I rarely do more than a final cropping - to get rid of stuff that
detracts from the focal point of the image - and resizing, unless I
want a certain 'look'. Like toupees a good Photoshop still looks like a
Photoshop, and a bad one looks like, well.....
This one came out OK, I was trying for a 1914 look, and had to clone in a rock into the background. If you look close you can tell where it's been manipulated.
This one came out OK, I was trying for a 1914 look, and had to clone in a rock into the background. If you look close you can tell where it's been manipulated.
Imitating Old Photos-
This is a more advanced trick done during the editing process but it isn't quite as
drastic as Photoshop. It's hard to describe because each change
requires just a tiny adjustment. A big don't is don't just toggle on
the sepia filter. Sepia, is so overdone in digital photography it's
become a cliche.
Some Dos - DO add 'film grain' if your editor has the capability, this needs done pretty early in the editing process or it will really look faked.. DO shift the color balance slightly towards yellow if you want it to look like an old color shot. The reds were not very stable in prints from the 30's to the 70s. DO lightly fuzz or soften the edges. Old fixed focus cameras had a limited depth of field, and older films were fairly slow. DO decrease both saturation and contrast a small bit to simulate fading.
Some Dos - DO add 'film grain' if your editor has the capability, this needs done pretty early in the editing process or it will really look faked.. DO shift the color balance slightly towards yellow if you want it to look like an old color shot. The reds were not very stable in prints from the 30's to the 70s. DO lightly fuzz or soften the edges. Old fixed focus cameras had a limited depth of field, and older films were fairly slow. DO decrease both saturation and contrast a small bit to simulate fading.